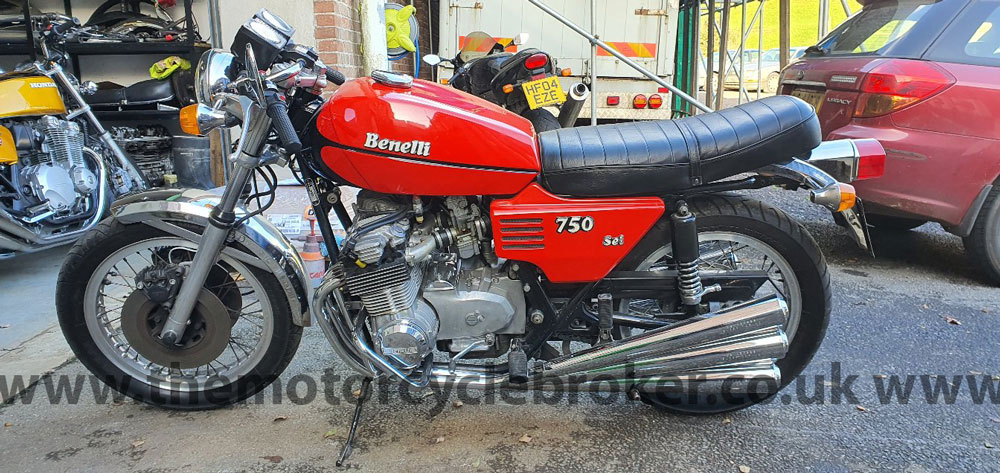
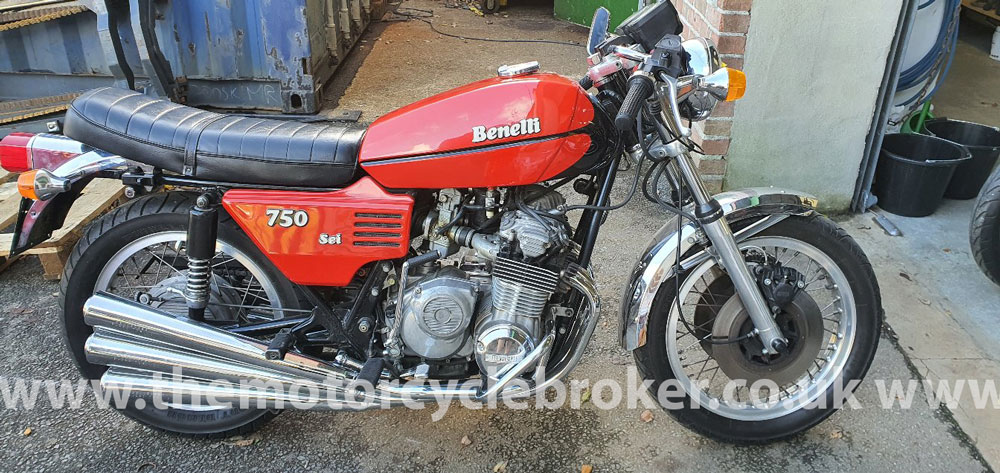
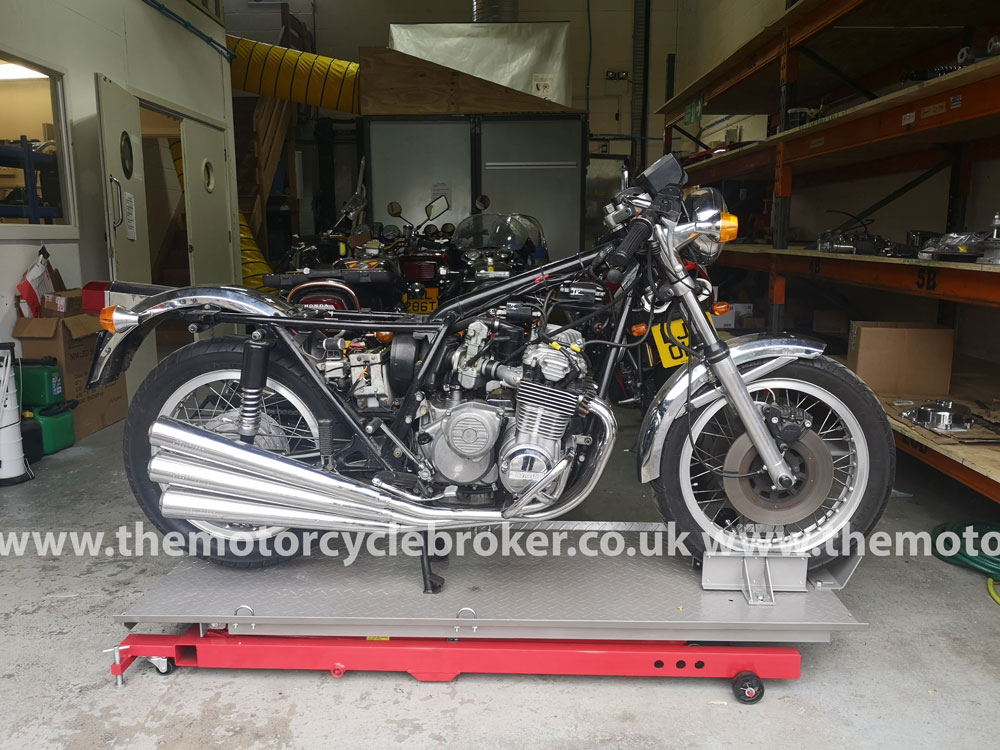
This 1975 Benelli Sei 750 restoration project looked great at first glance and could have easily been “toshed up” and retailed at quite a price. A Benelli 750 Sei series one is a really tough machine to find, as they were very rare to start with. It’s a highly original example, which is seriously tough to find, is a typical example of a high quality Italian restoration. These machines are given a “blow over” repaint of the bodywork, which is where the bodywork is scotched up to key enough for some colour to be blown over the original failing paint, rather than taking the bodywork back to the bare substrate and painting it properly. This looks alright for a while until the new paint de-laminates from the original paint and starts to fall off, quite often taking the old paint with it. The top end of the motor will have been stripped but not properly rebuilt and the wiring made to work with string, magic and plenty of hope. What matters its how the bike looks to an unaware customer in a shop. However, what was very special about this example was how original it was. The bike had retained the original Boriani wheel rims, switch gear on both sides of the handlebars, front brake master cylinder and airbox. All of these are not replaceable today, making this a very special example indeed and well worth saving. Having worked throughout the world with classic motorcycles for over forty years, we knew what to expect from this Italian restoration.
Classic motorcycle assessment
Classic motorcycle assessment must be done with the machine running and rideable to understand what we’re dealing with and how far to strip the motor. We got the machine running, did compression tests and rode the machine for fifty miles to try to assess the gearbox. There was a noise from the bearing behind the alternator, which is very common on these machines. The compression was quite low on four of the cylinders, but there was no signs of oil burning or rattle when we used a stethoscope on the motor. We knew we would have to deal with the top end of the motor and the bearing behind the alternator, at the very least. Once we removed the bodywork, although the frame paint looked alright, it was clear that the frame needed removing and blasting back to bare steel. The forks required fully rebuilding and the finish was incorrect on them.
Pre restoration work
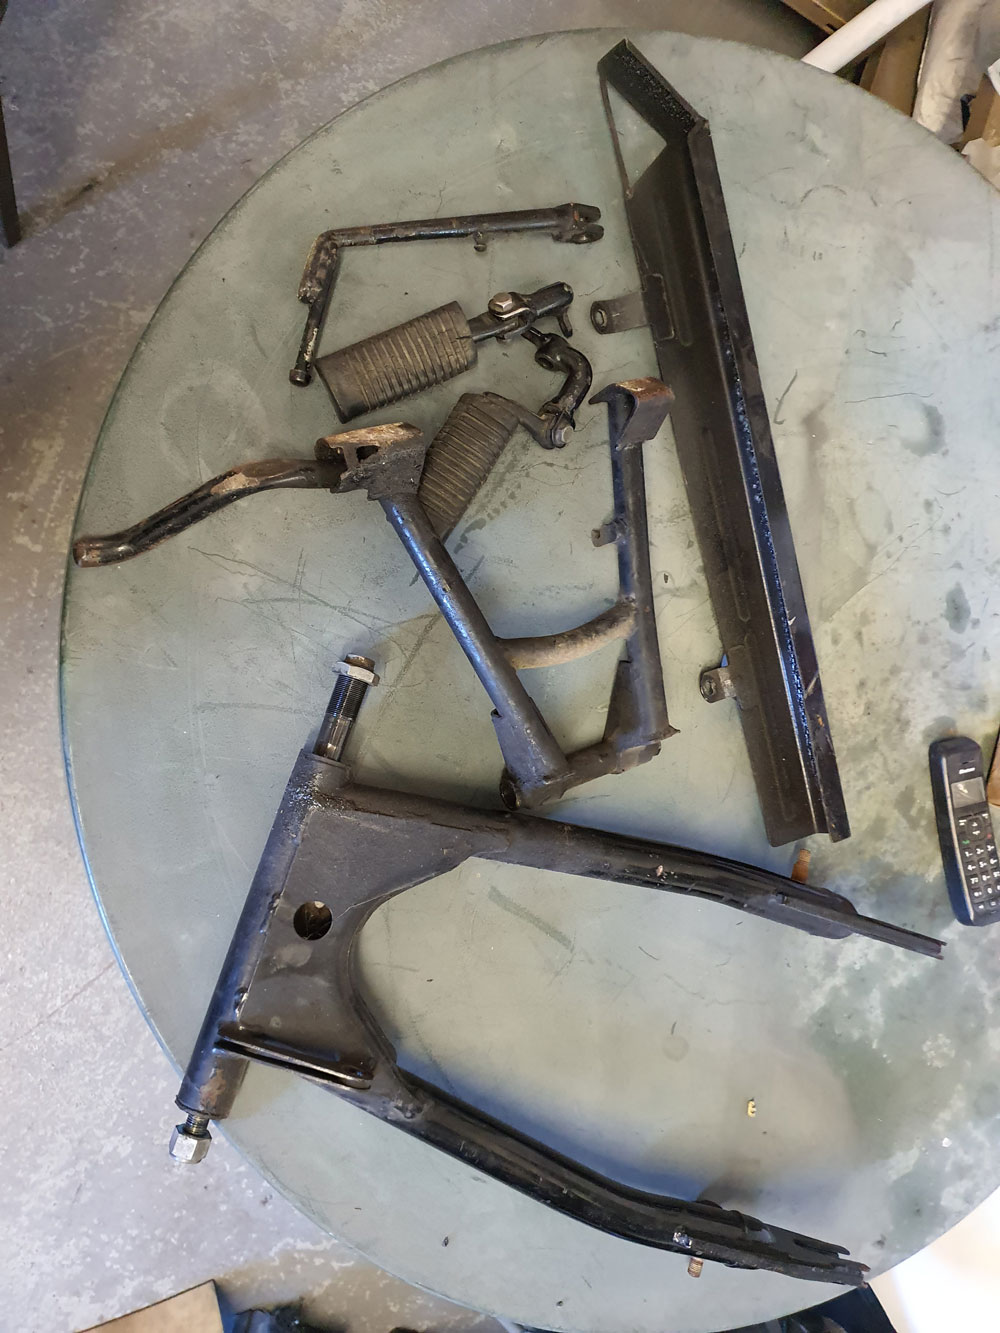
There is a fair amount of pre restoration work required, which you do not want to be doing after everything is painted. Anything that requires welding, straightening or re-aligning needs to be attended to prior to anything being painted. The side stand brackets on these usually separate from the frame due to corrosion and owners sitting on the motorcycle while it’s on the side stand and trying to look like Marlon Brando. This example required the entire side stand lug removing, re-dressed, re-shaped and welding back on properly and at exactly the correct angle. The battery box required welding and dressing prior to painting due to corrosion. One of the seat hinges on the frame had detached due to corrosion, which had to be welded back on after re-shaping and dressing. The petrol tank lugs had become quite mis-shaped due to ham fisted mechanics fitting the tank, which made the petrol tank sit incorrectly with the left side lower than the right side. Now is the time to deal with these problems, not when everything is repainted.
Benelli Sei 750 engine rebuild
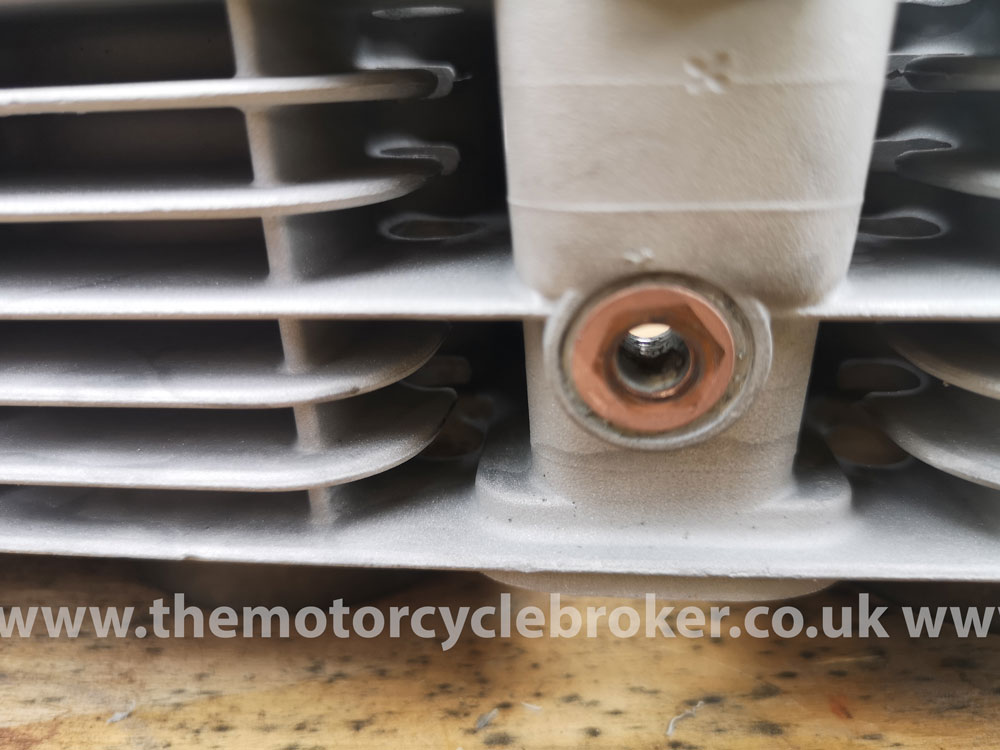
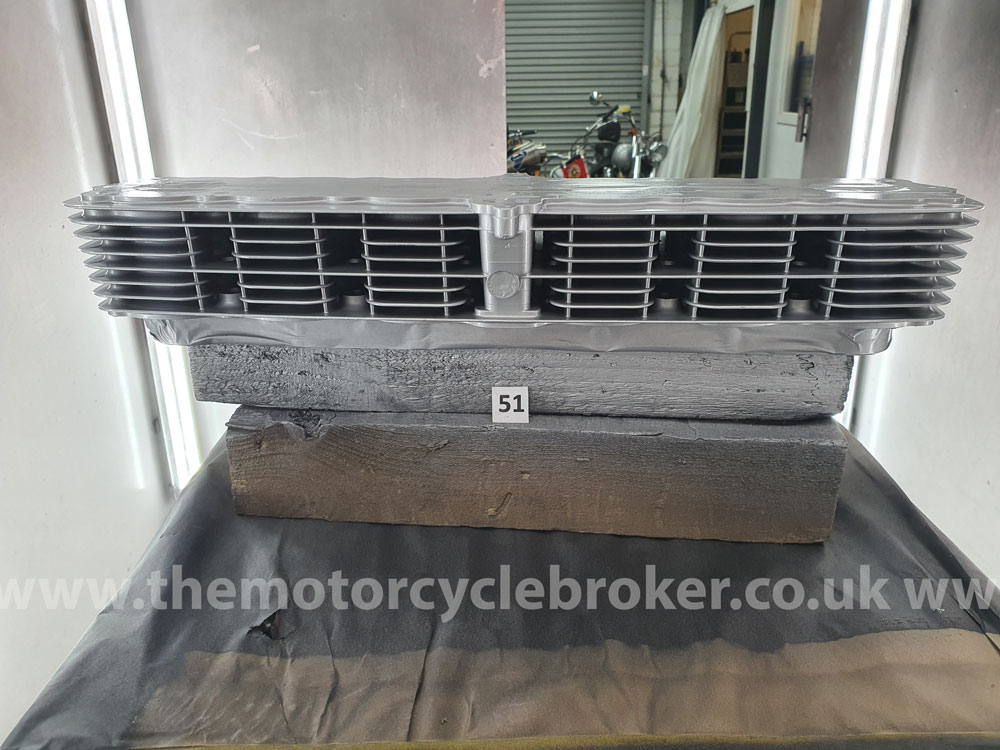
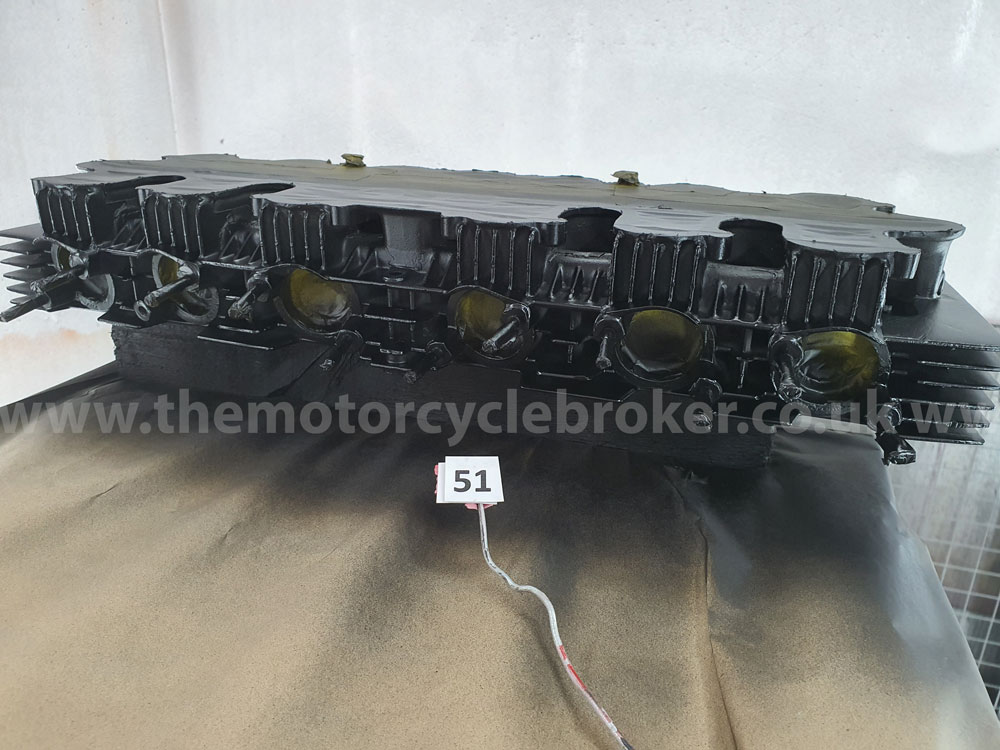
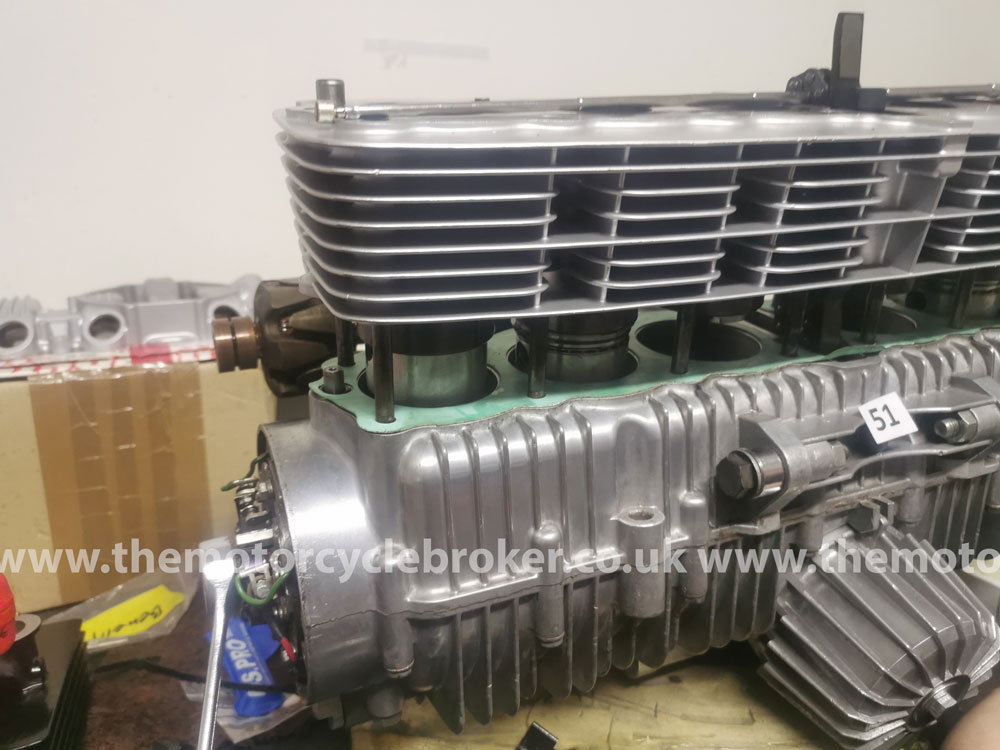
This Benelli Sei 750 engine rebuild reveals typical Italian engine work, we have seen this type of “engineering” so often on machines restored in Italy and in Britain. Parts are seriously challenging to find for these machines and most parts are now sourced in Holland and Germany. We could not get the cylinder to separate from the crankcases beyond about a one millimetre distance. After much examining, probing, prodding, ensuring we don’t damage anything, we noticed a pin in the back of the cylinder which had been driven into the Alluminium. This was very strange as there was no reference to anything of the sort in any diagrams, workshop manuals or online. We gently jiggled the cylinder block up and down the one millimetre of play as we got something onto this pin through the barrel and pulled it out. The cylinder lifted easily and we noticed that the fat cylinder stud at the rear of number three cylinder was thinner than the on the other side of the cam chain tunnel. It was noted how the cylinder block had been drilled to allow the pin to be driven through the cylinder block to prevent the cylinder stud, which was thinner than required, from rotating in the crankcase, because the thread in the crank case was worn.
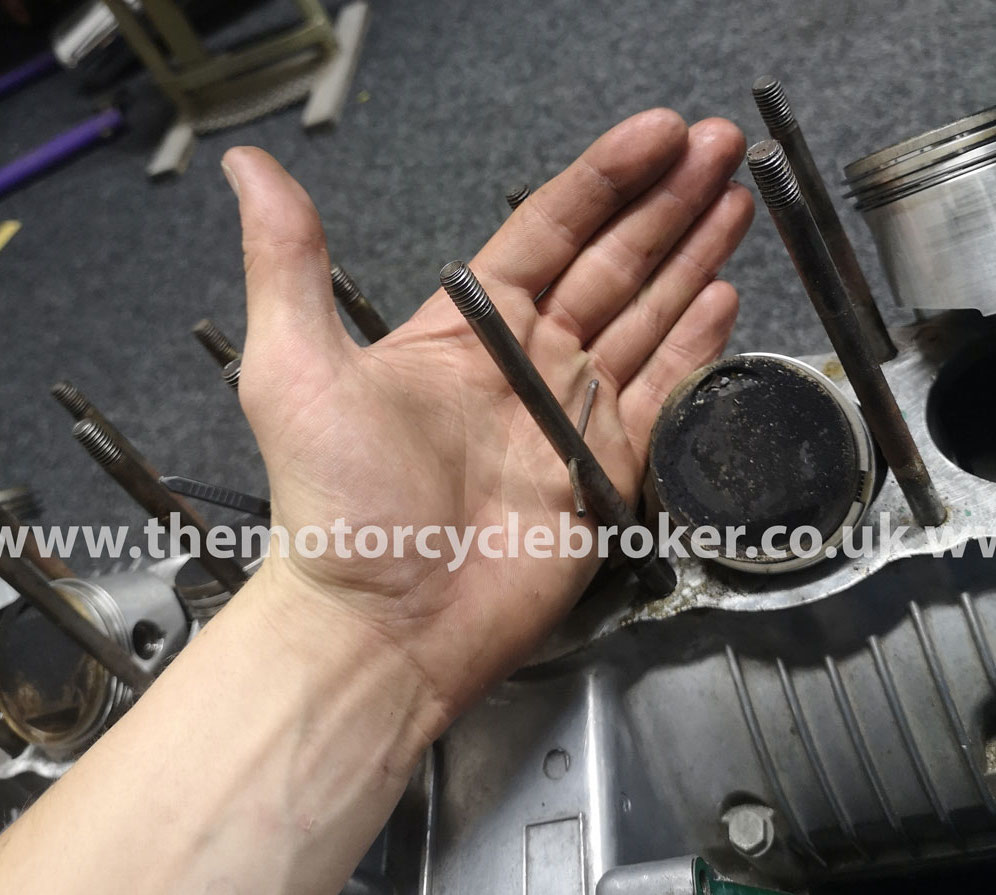
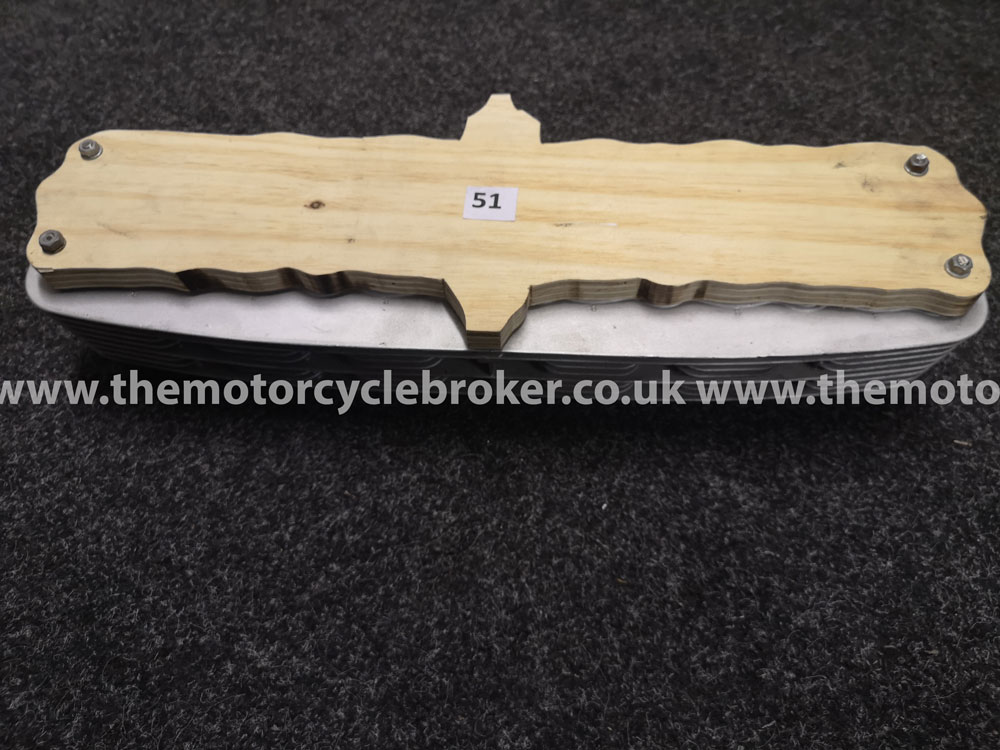
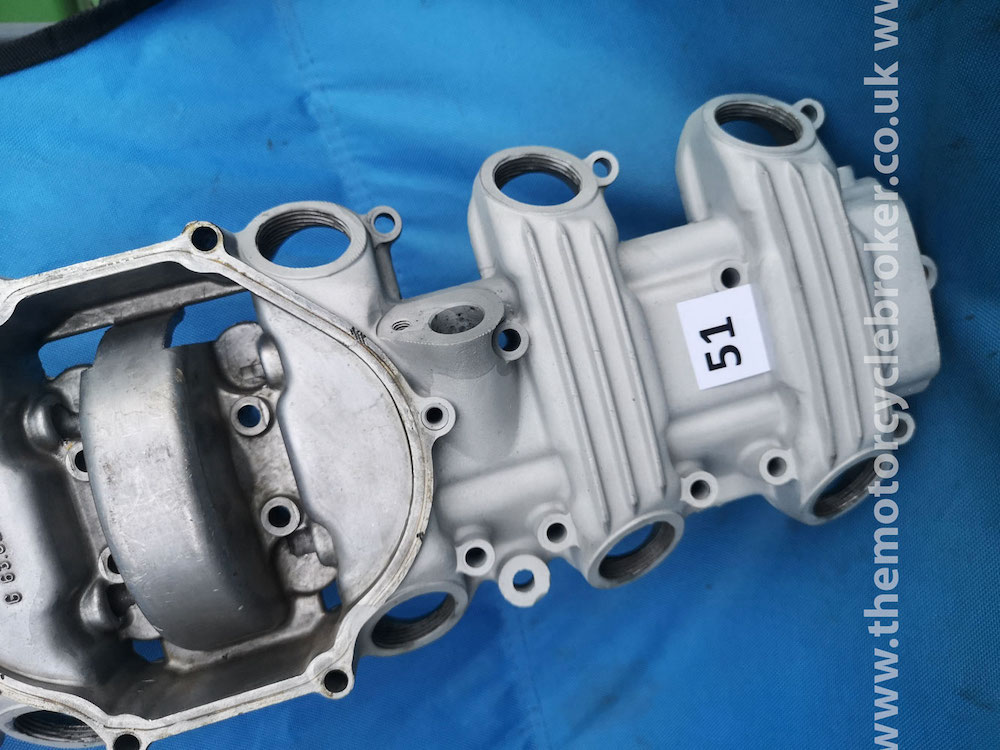
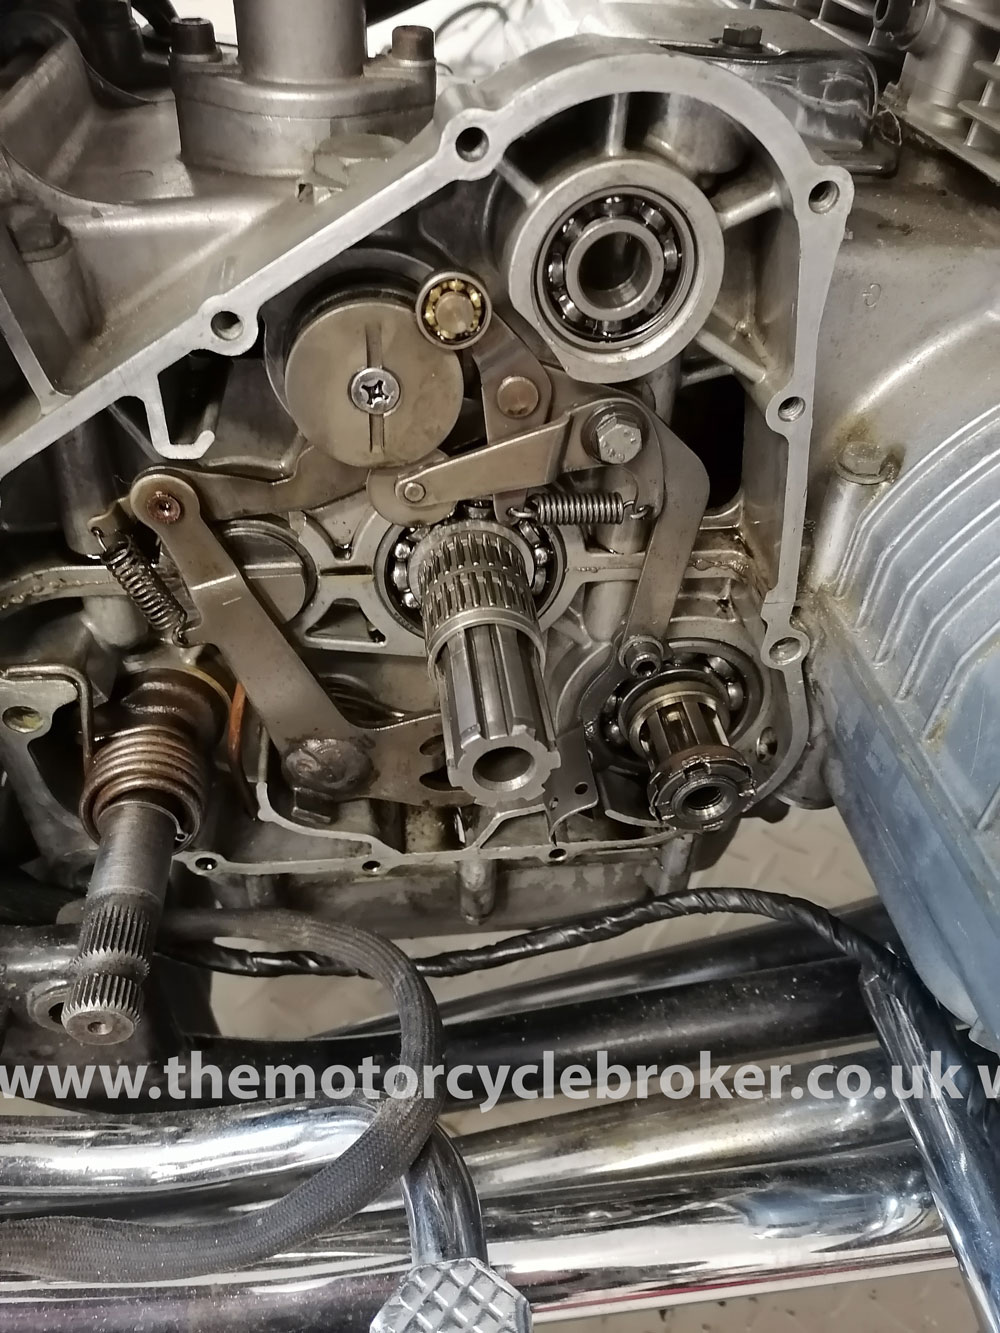
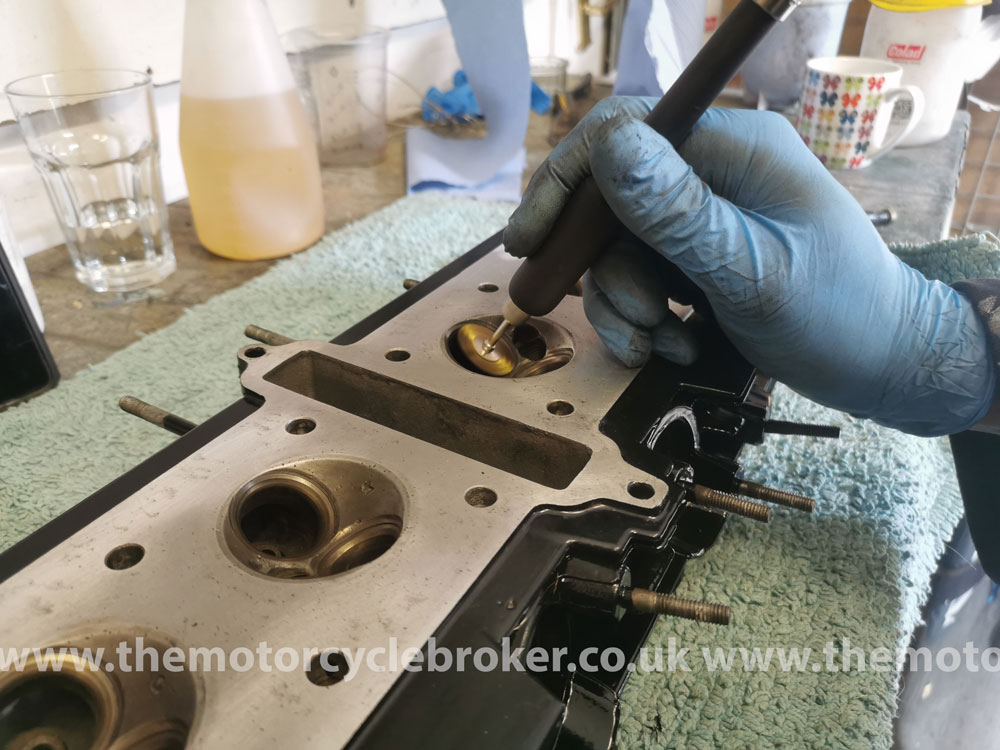
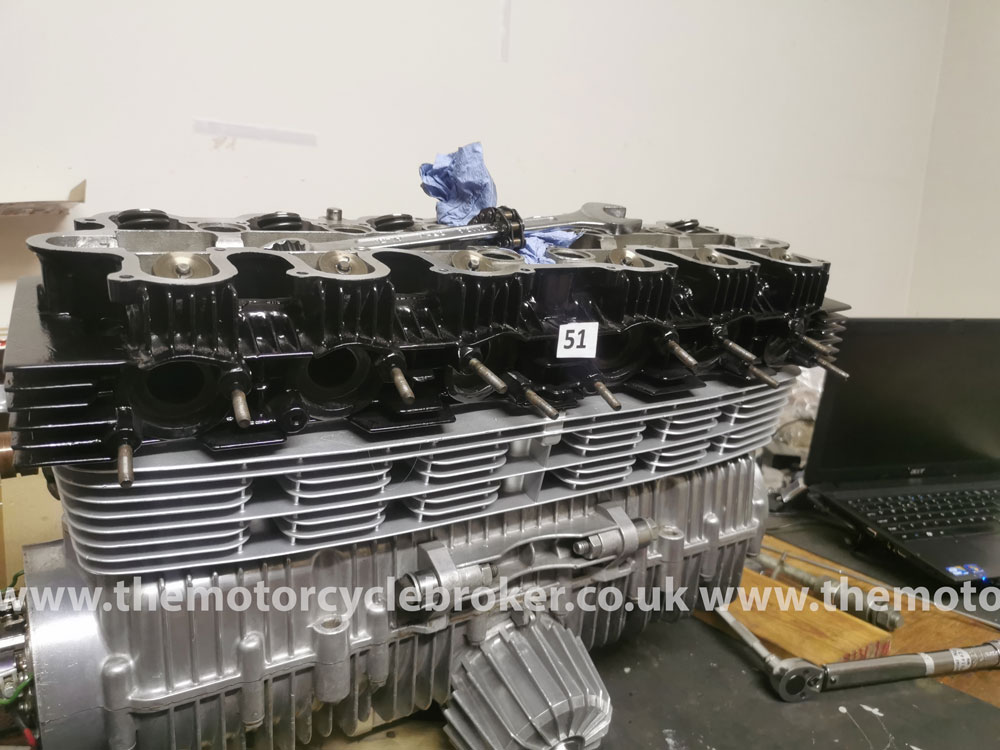
The gearbox had never been split, so no one had been able to do any damage there and there no signs of problems from the test ride. It’s a relief when we know that no one has interfered with anything in an area of the motor since the bike was built new at the factory, as the above photo demonstrates. Many of the threads in the motor’s top end were stripped and never repaired during the last top end rebuild, such as the locating thread for the cam chain guide retaining bolt, as you can see below. We removed all of the cylinder studs, replaced them, repaired all threads correctly and ally welded and dressed the cylinder black to repair the whole to install the pin which held the cylinder stud in place. After all of this, we cleaned and polished the bottom end of the motor, matched all of the engine colours, blasted and painted all of the top end parts.

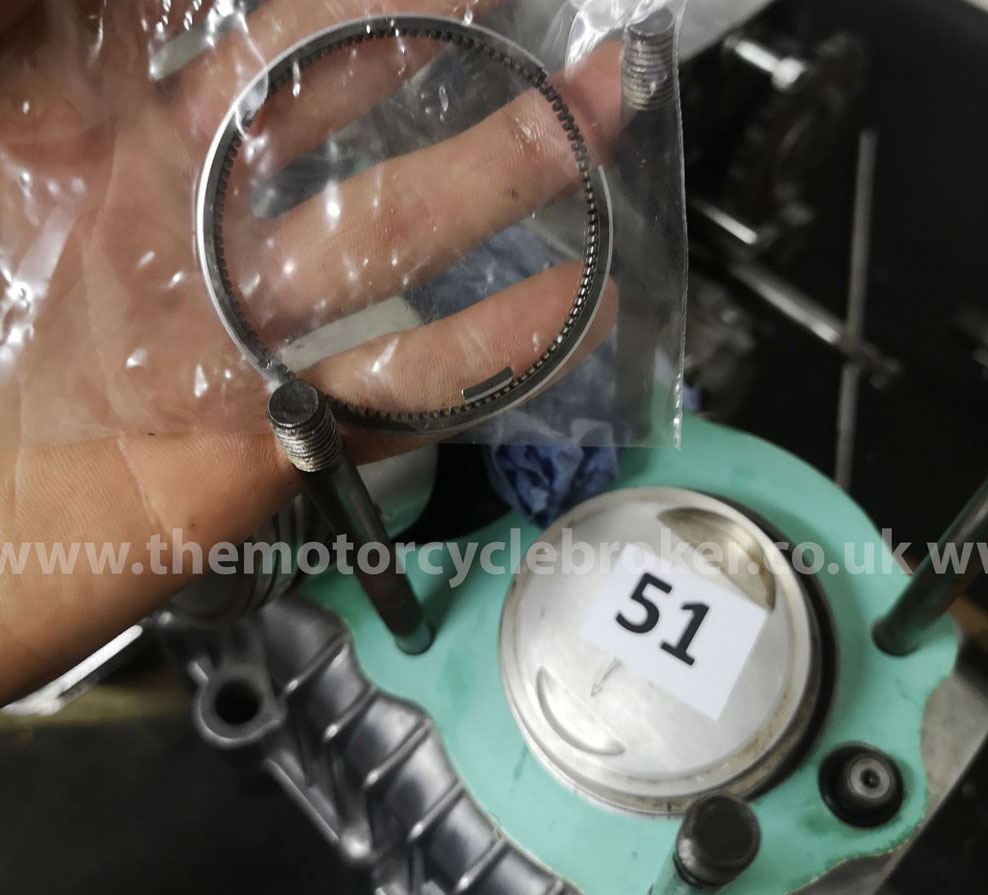
When we removed the piston rings they rapidly broke up because they were original and very brittle due to age. They were outside of tolerance in the gaps at the ends of the rings, but well within tolerance to the bores. We fitted new rings and gapped them correctly. The sumps are a big problem with the Benelli Sei and the sump needs removing at least once a year and any oil sludge removing. We cleared the sump of a lot of sludge, cleared the oil ways, dressed the valve seats which were leaking, lapped in the valves and rebuilt the motor.
Ancillaries and polishing
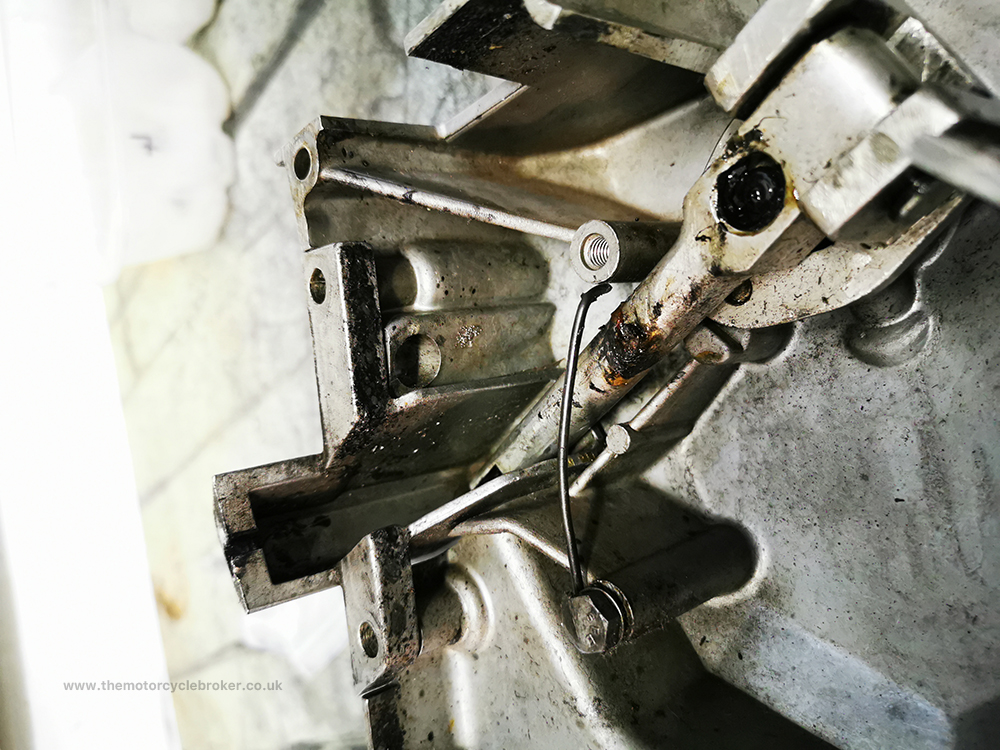
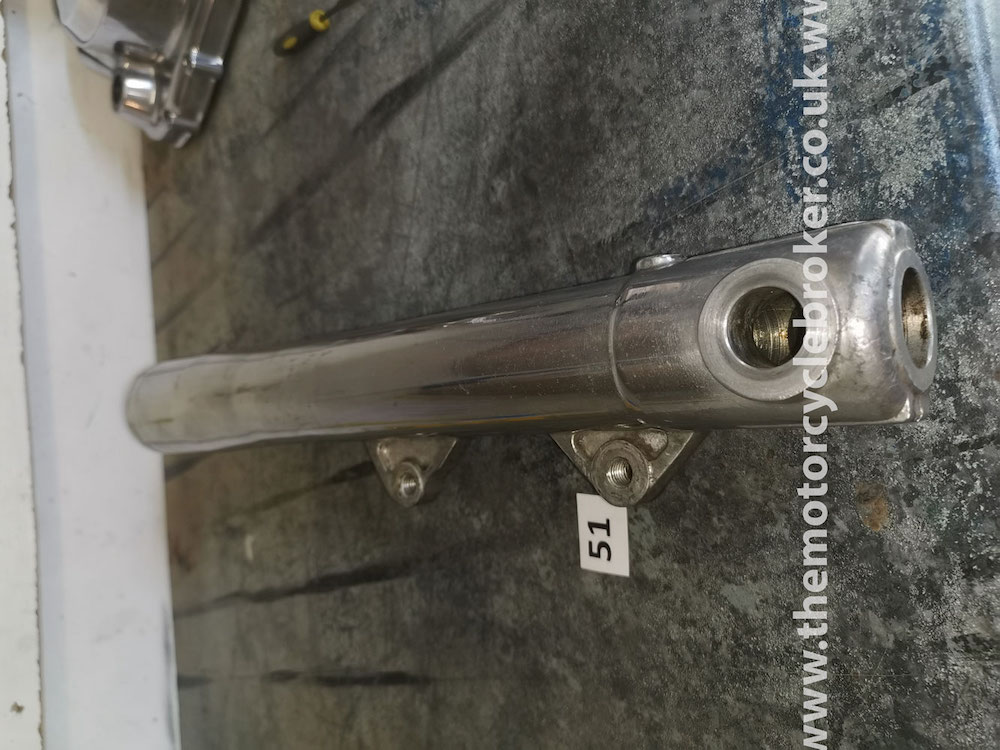
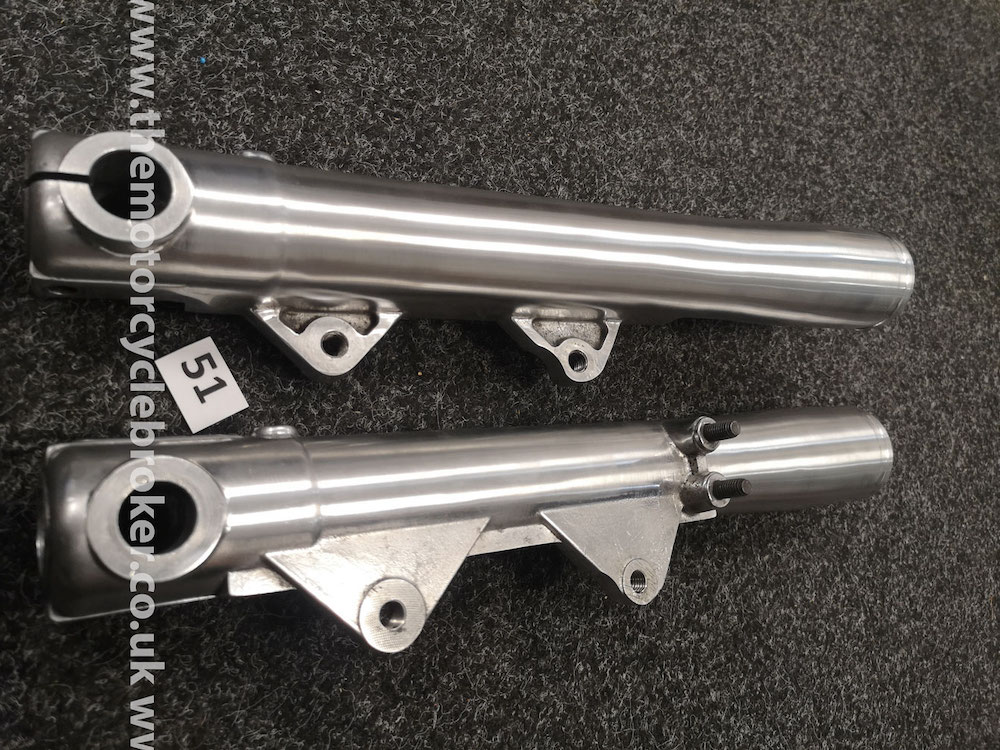
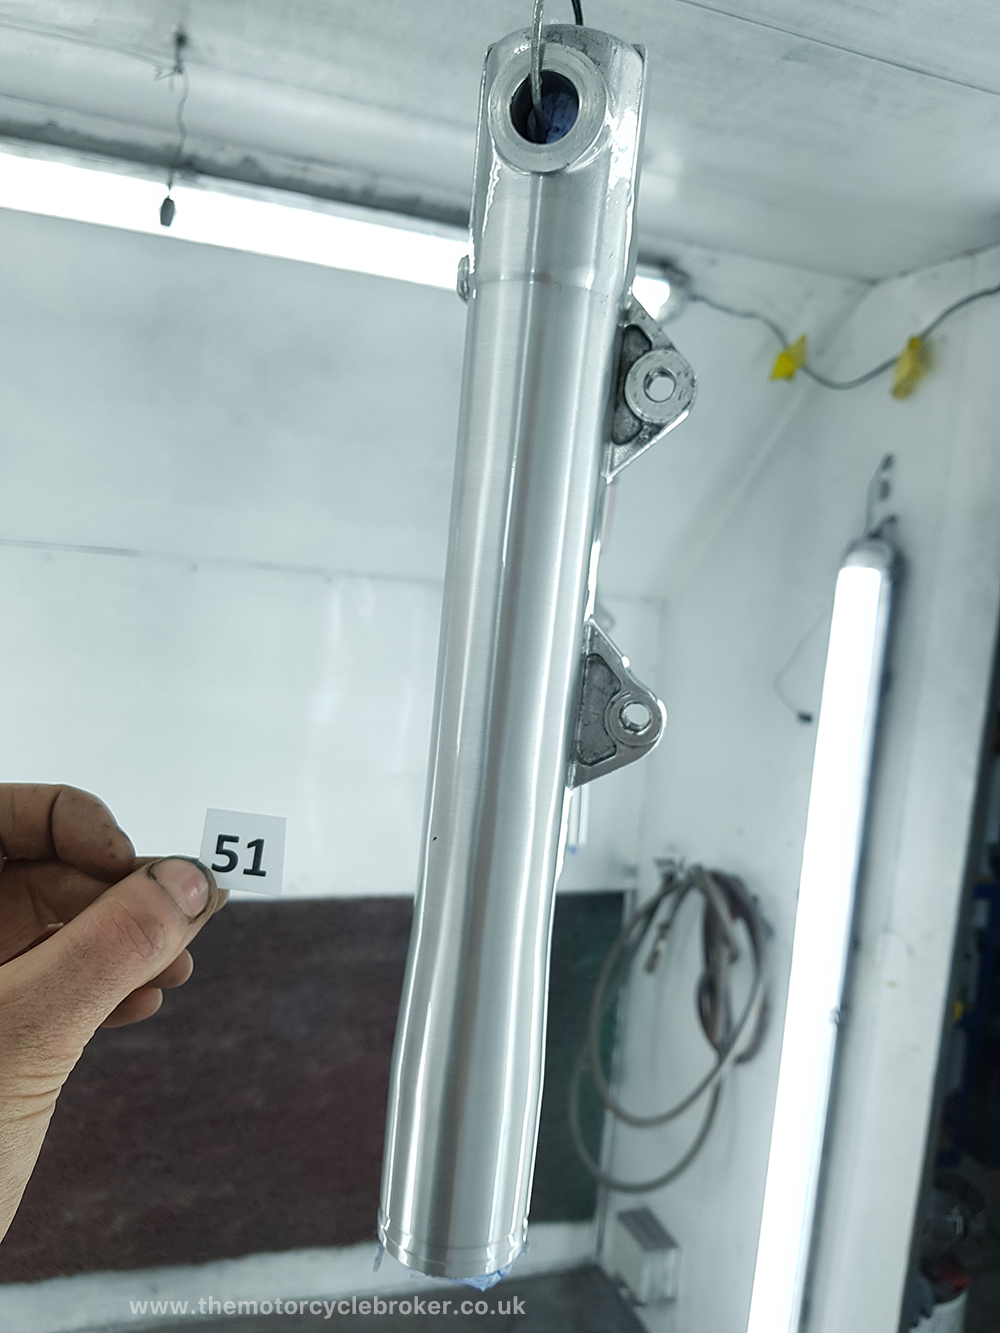
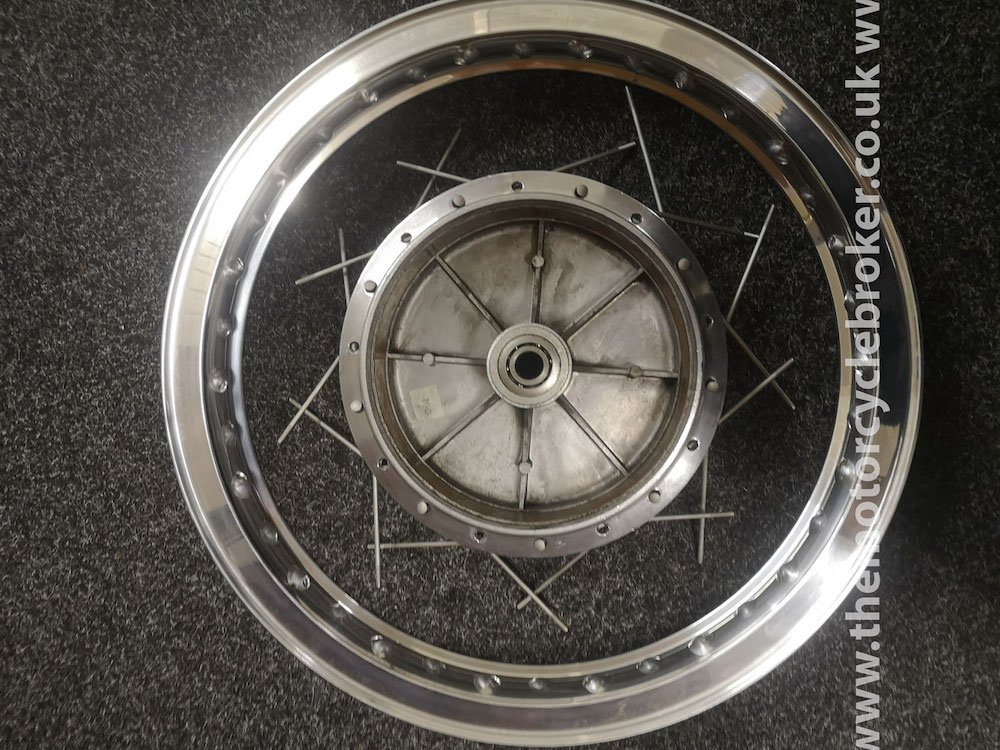
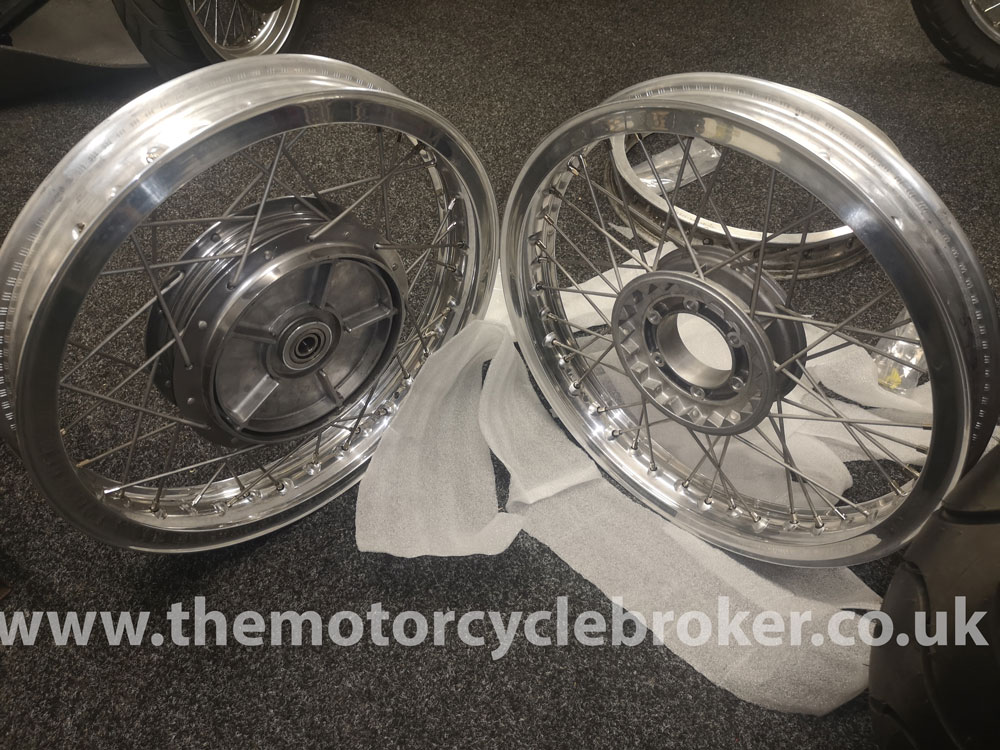
The ancillaries are hugely labour intensive. The forks and yokes need stripping, dressing and polishing. All of the aluminium required aluminium welding in many of the deep scratches, this is then ground, re-welded, dressed back and welded and dressed several times over. Only then can the aluminium polishing begin. The wheels needed stripping and all parts require dressing and polishing only after all of this work is complete, can the polishing begin which is a long and laborious task. All outer engine cases require dressing and polishing and all nuts and bolts require re-plating.
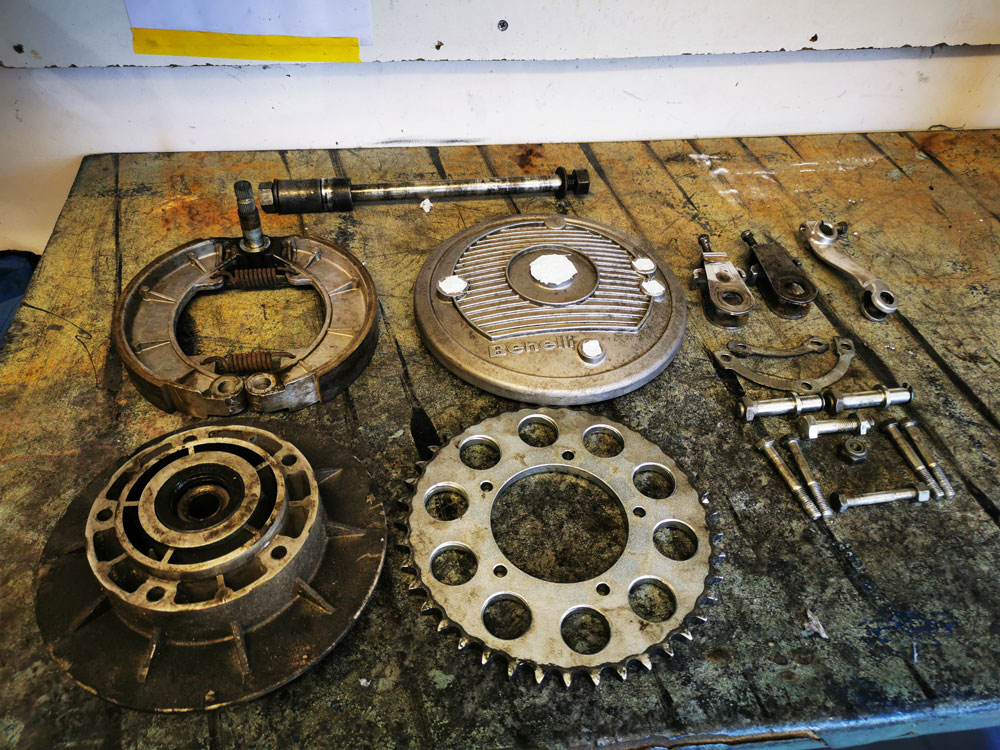
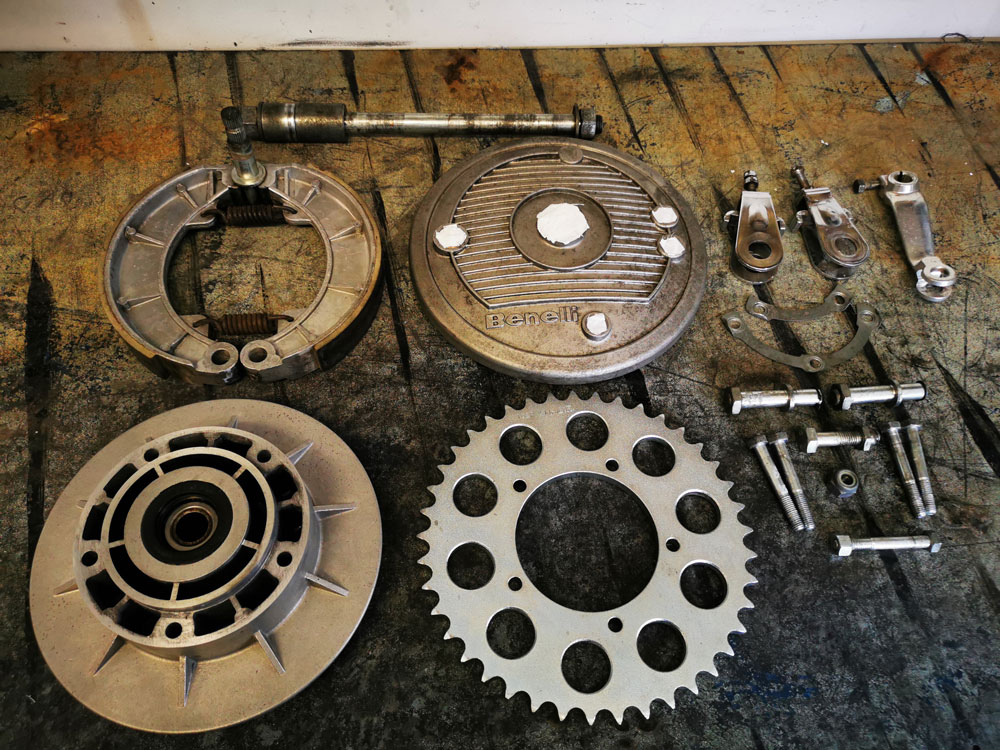
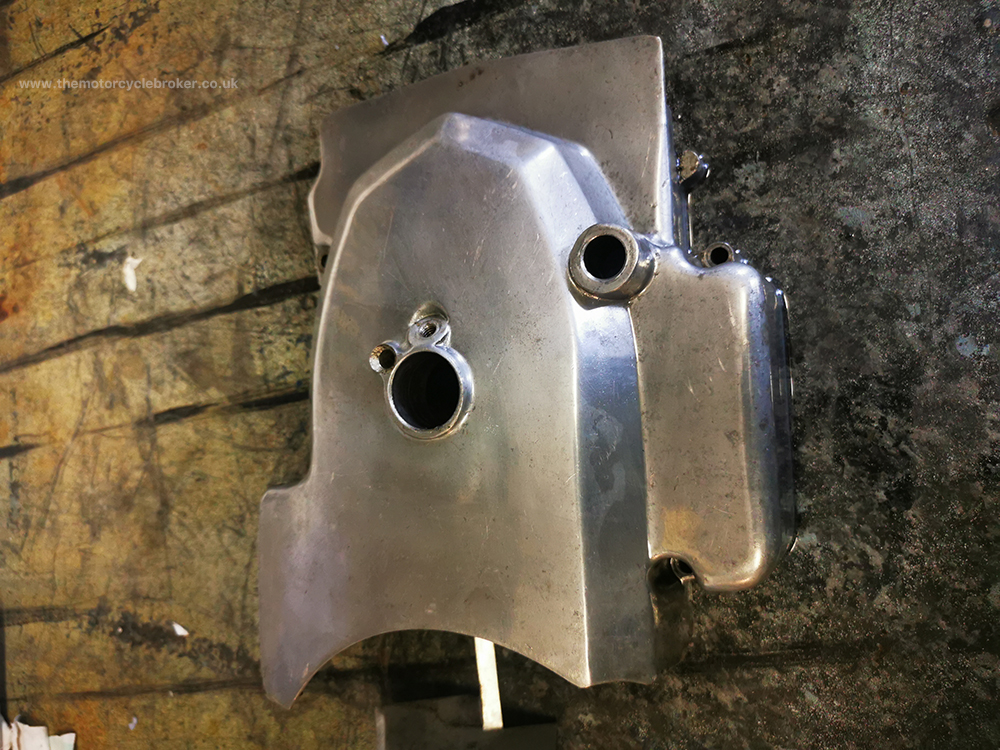
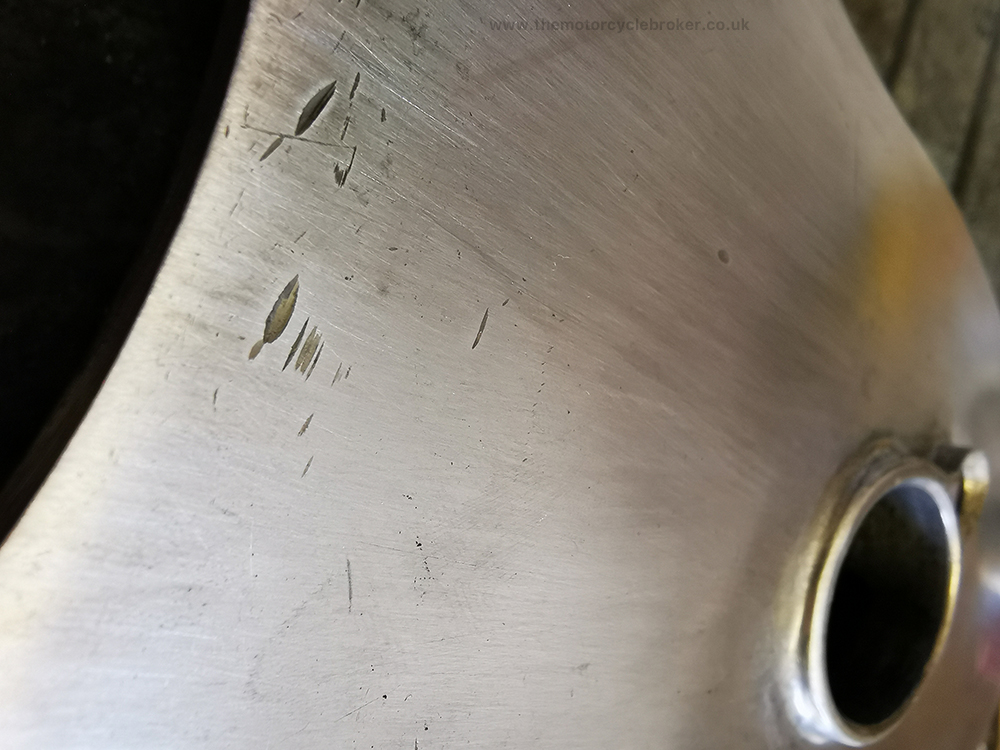
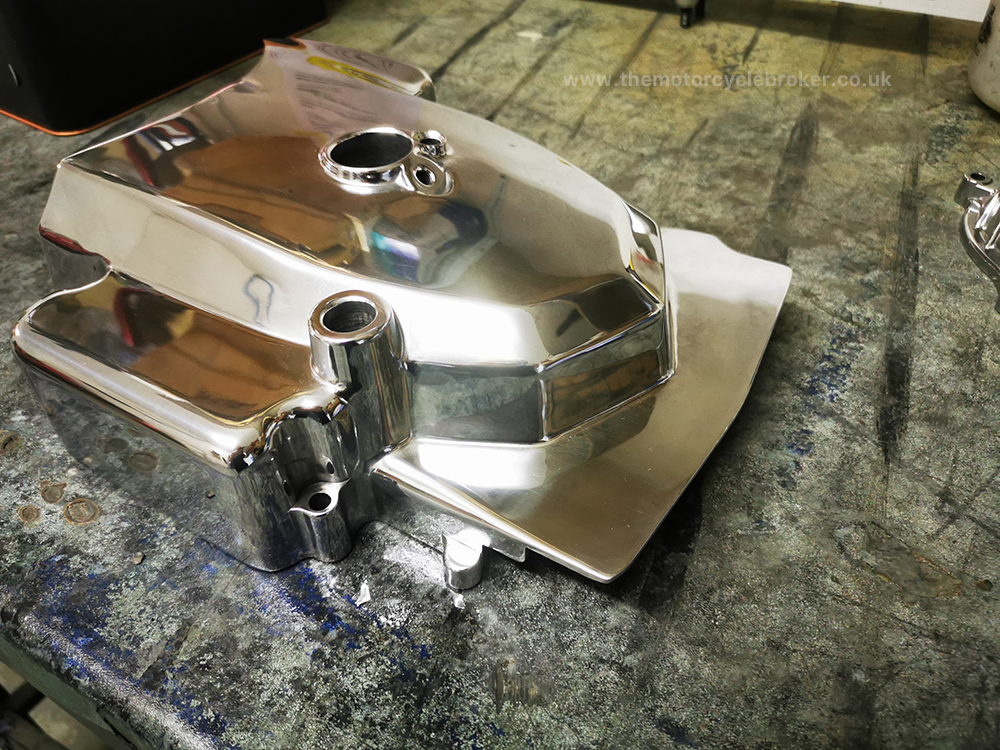
Each ally piece has to be treated in this way and each outer engine case must be dressed and polished in this way. It’s incredibly satisfying, but highly labour intensive and the only way to get it right. The clutch kept slipping and would not disengage properly. It was found that the hairspring for the release mechanism had previously been assembled back to front and located incorrectly, so we fitted it correctly. This was a lot of shooting in the dark, as there were no diagrams or references to this in the factory manual, online or among any of the experts we know. We just had to work it out for ourselves.
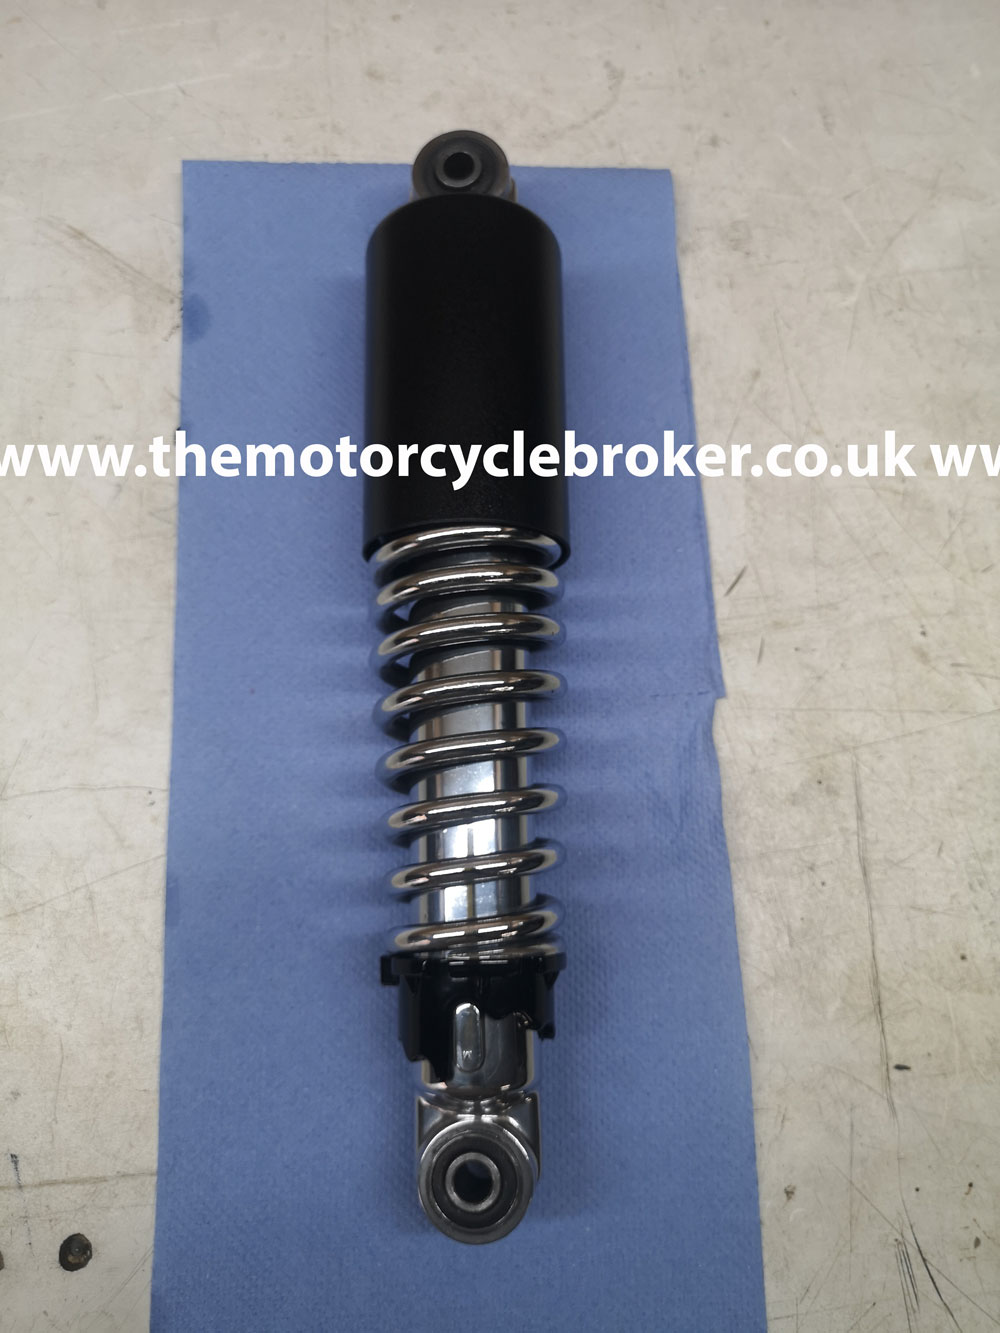
Rear shocks and wheels
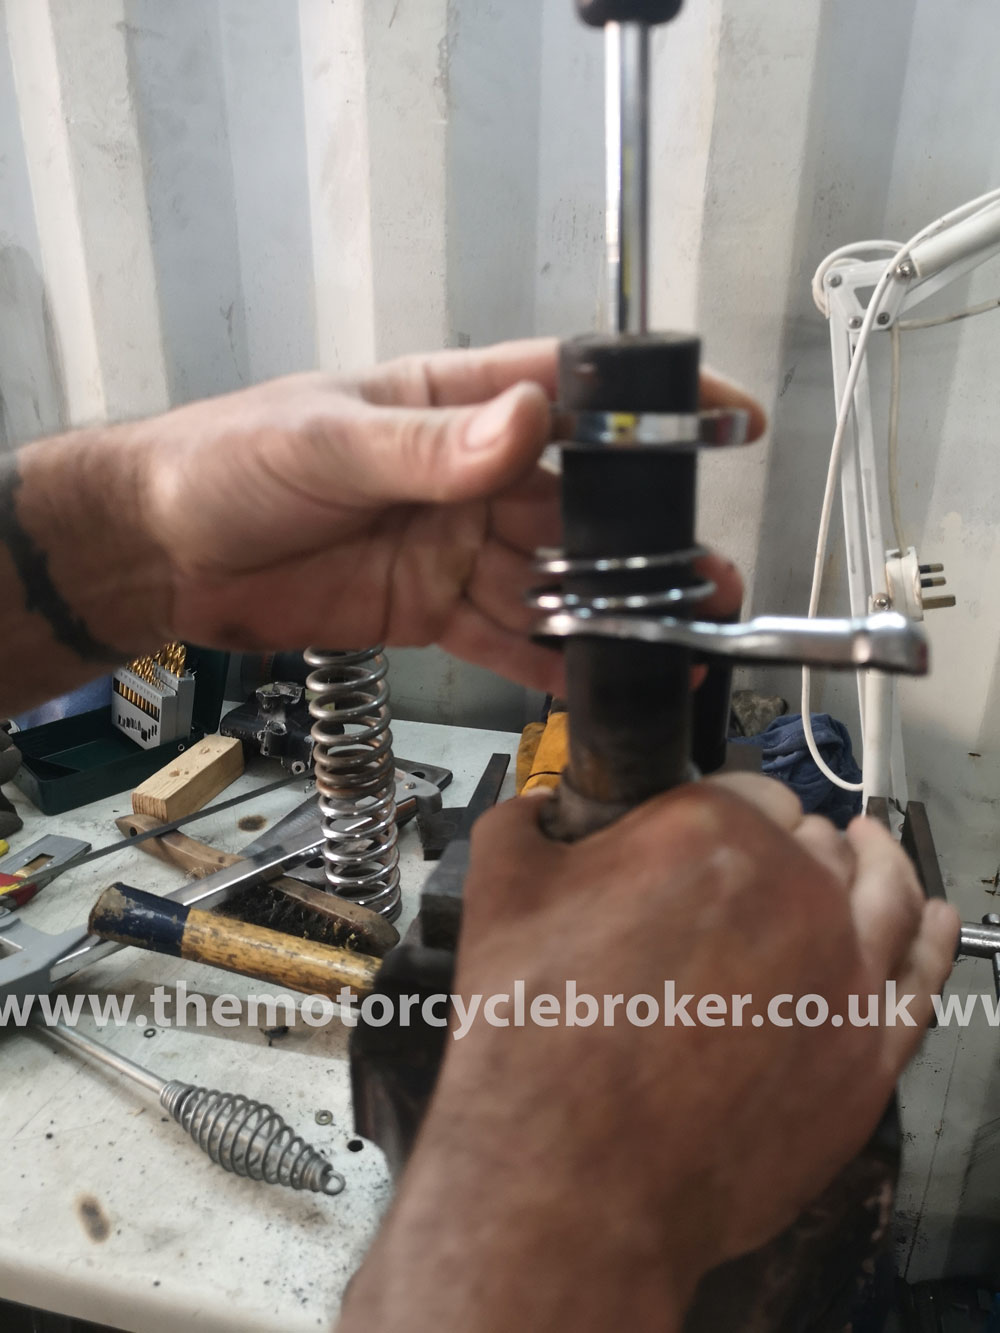
Frame, swing arm and ancillaries
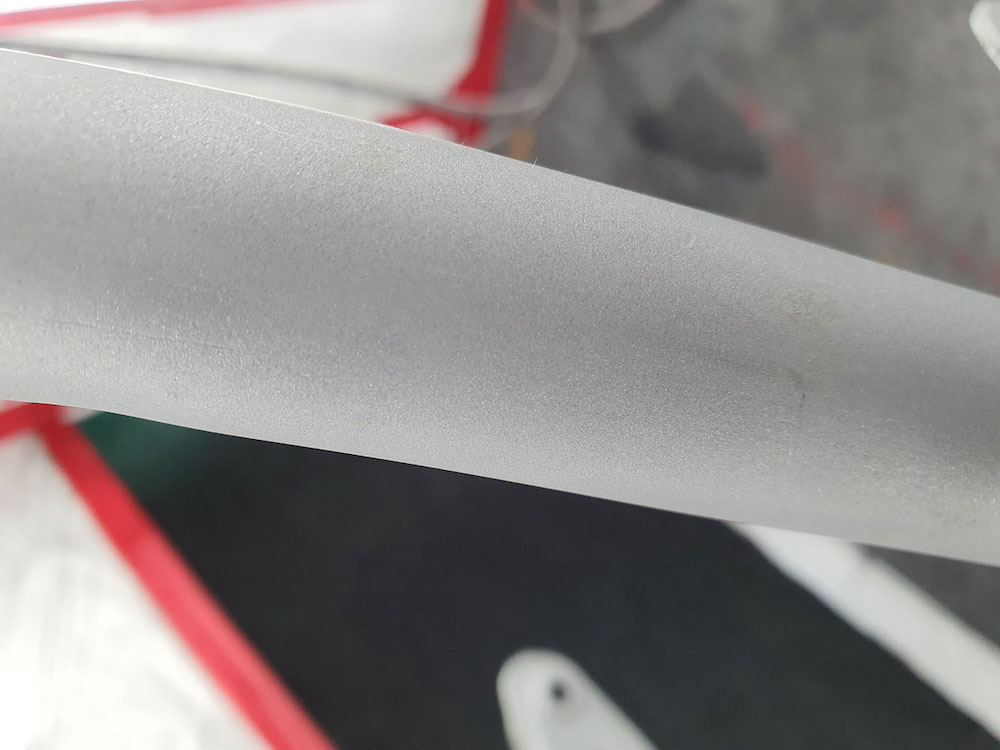
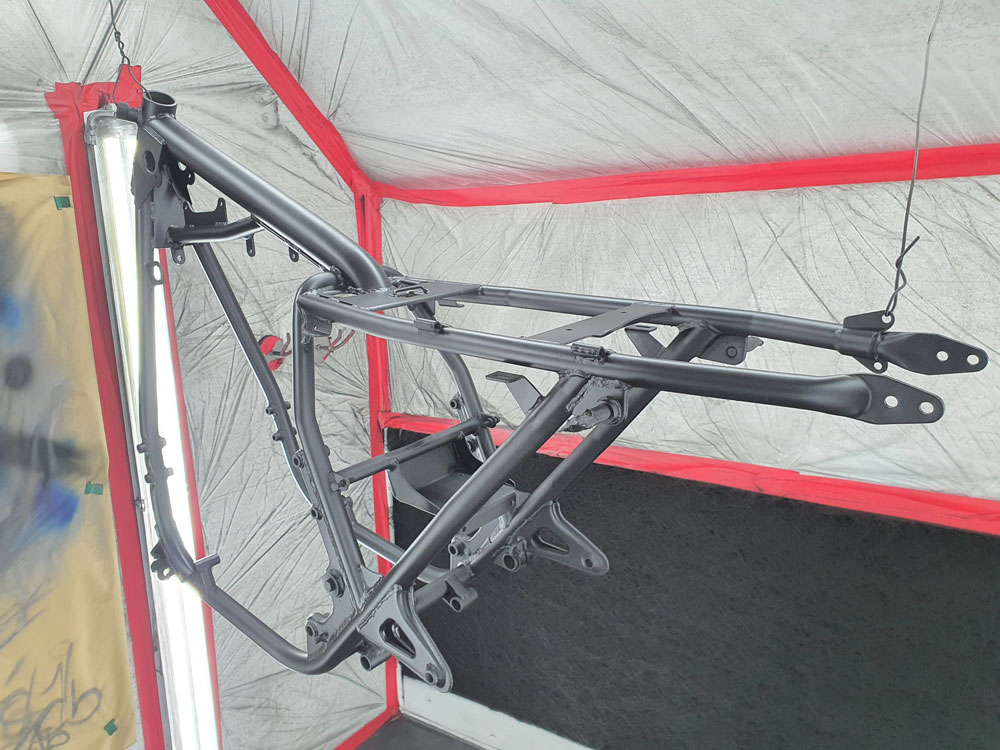
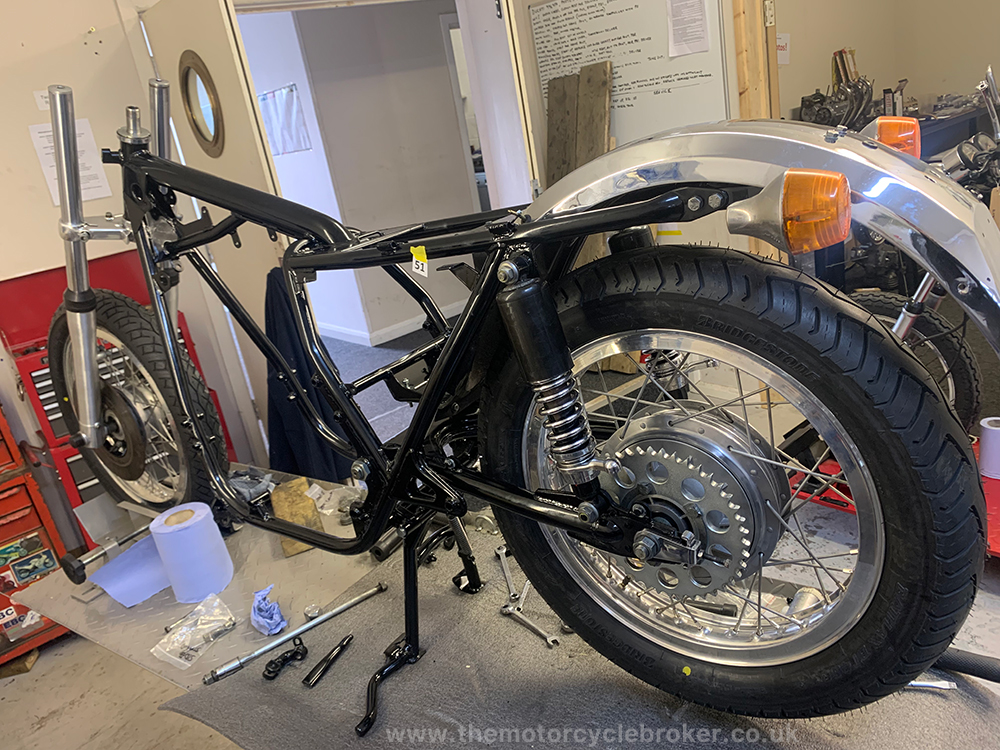
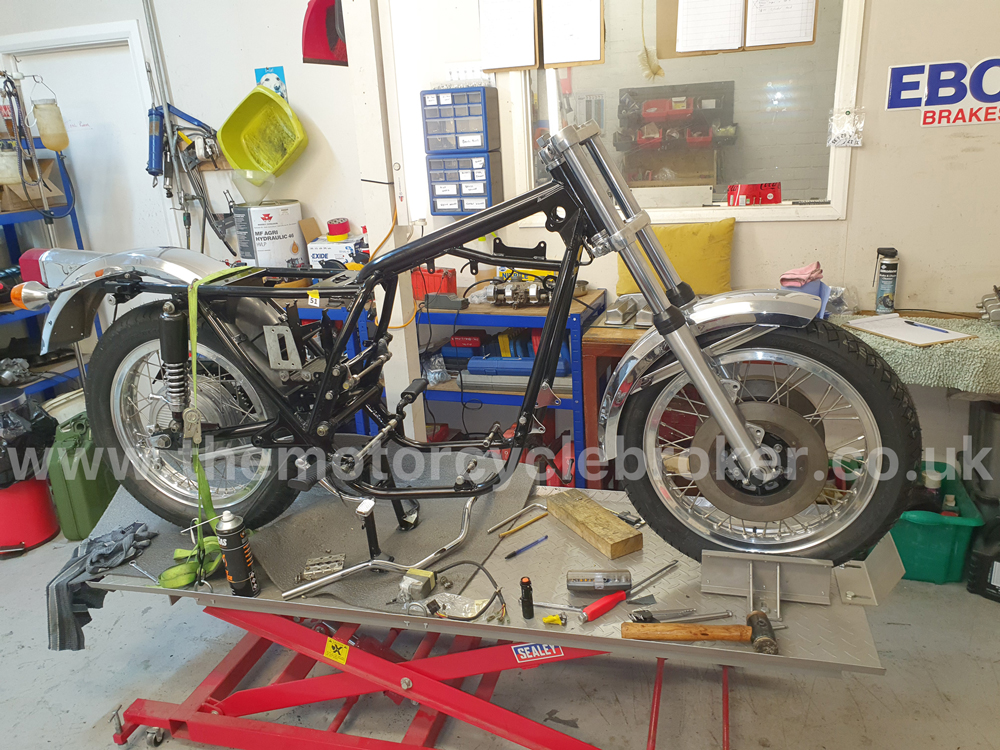
All of the frame, swing arm and ancillaries are blasted back to bare metal, treated with a thin anti corrosion coating, dressed, sprayed with an epoxy primer, rubbed down but ensuring there is proper coverage over all of the frame, then a different primer is used, a guide coat and again the frame is rubbed down by hand to ensure proper coverage. The original paint was very thin and this has to be replicated so we are very careful to offer more primer than the factory did, but to ensure the chassis number and all features that could be seen through the standard paint can still be seen. Once this has been achieved, the frame is ready for 2K low shine epoxy black paint and we spray it using our own method to recreate the original factory “orange peel” finish.

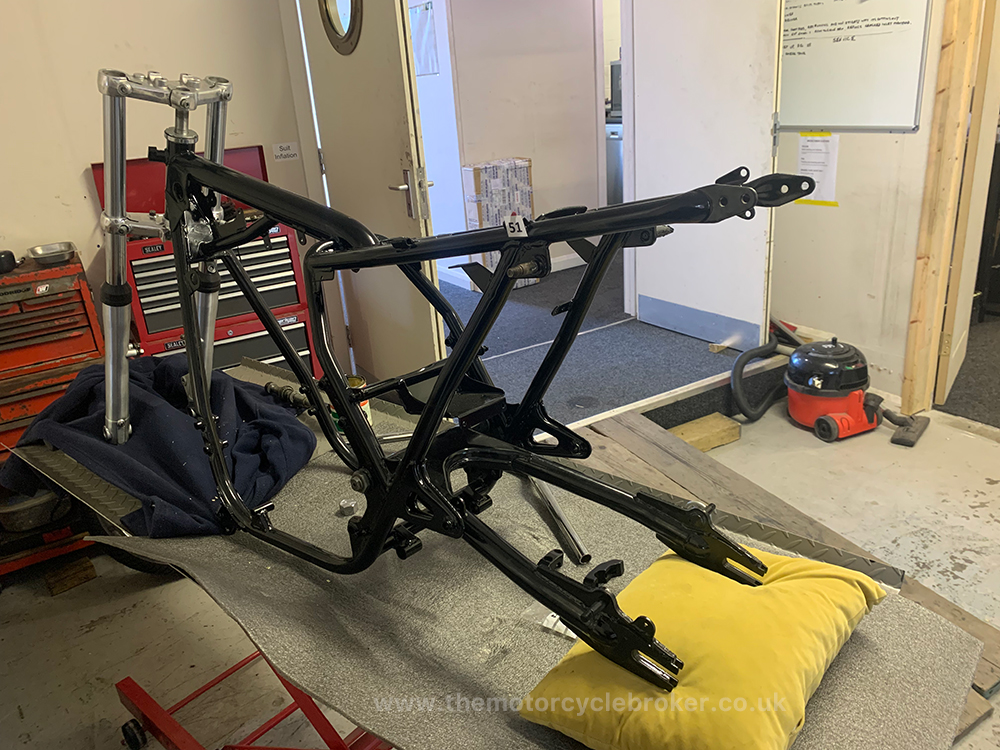
Now the rebuild can begin
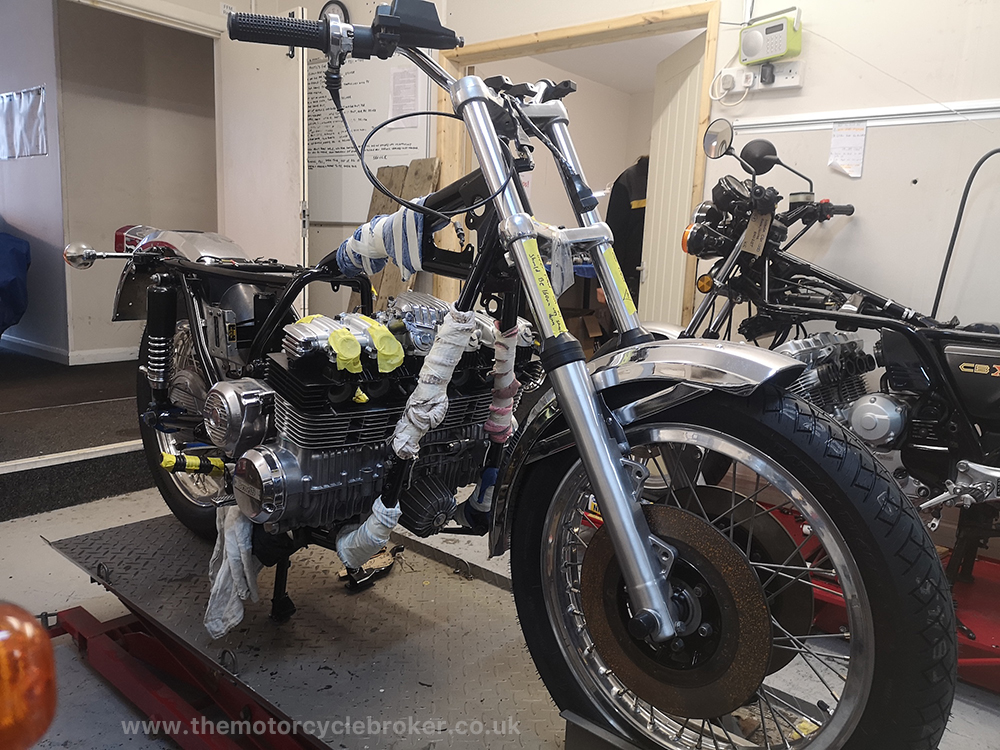
The rolling chassis can now be built up as the frame and parts are correctly aligned and are all painted. Putting a freshly painted machine back together takes a long time, as great care must be taken not to damage the new paint work. It takes three to four people to install the engine to ensure the frame and engine paint is not damaged.
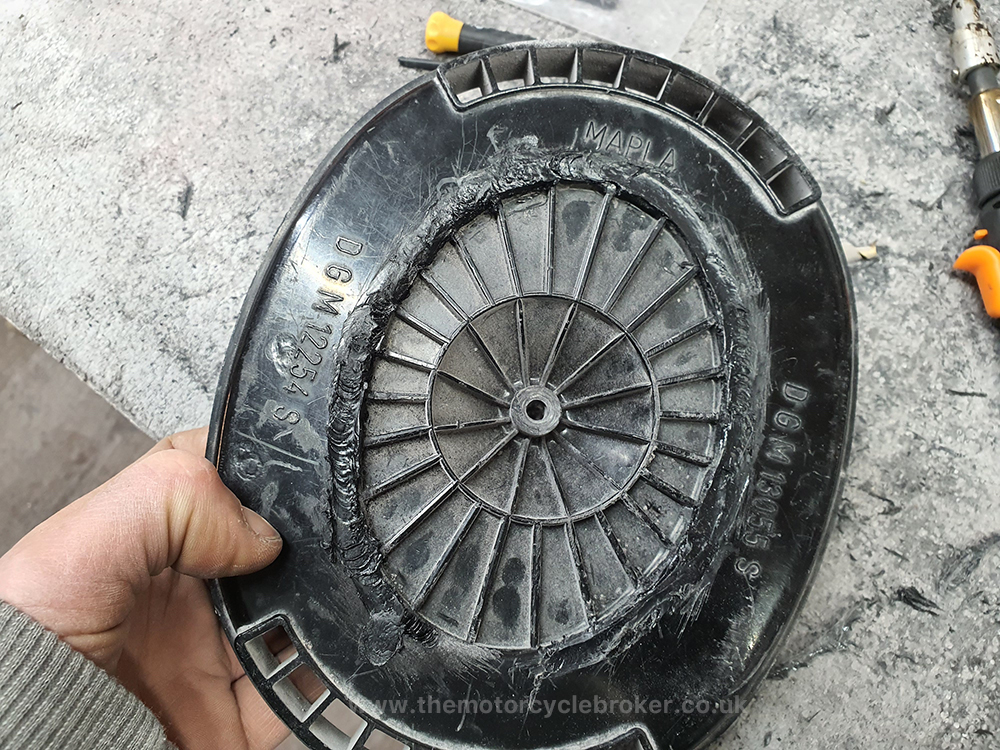
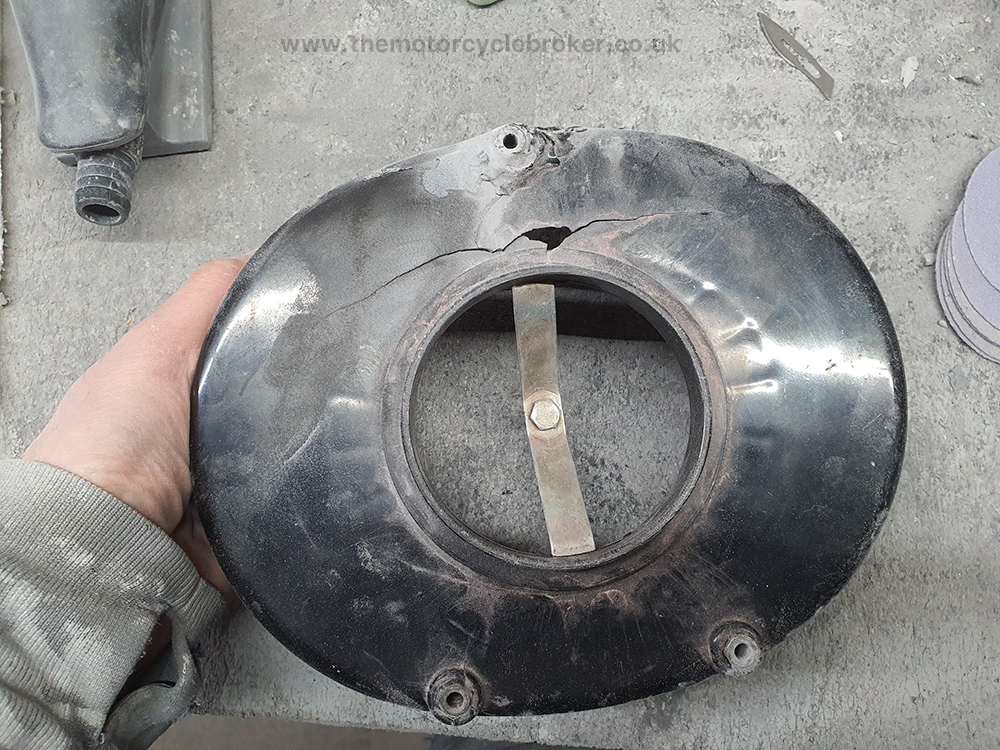
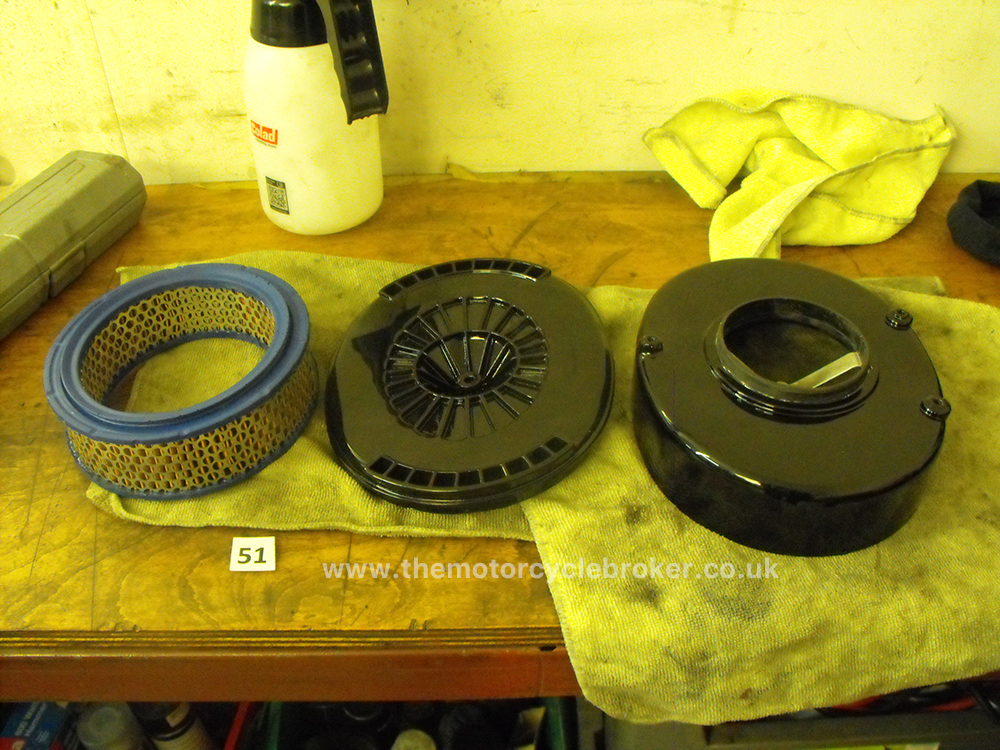
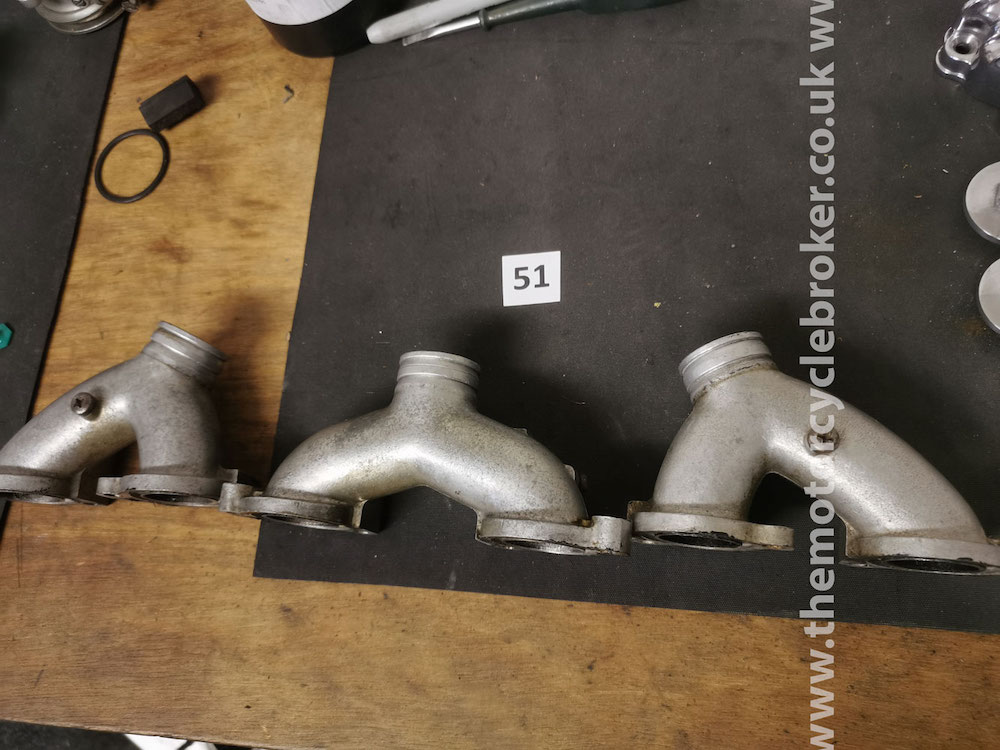
Airbox and inlet manifolds
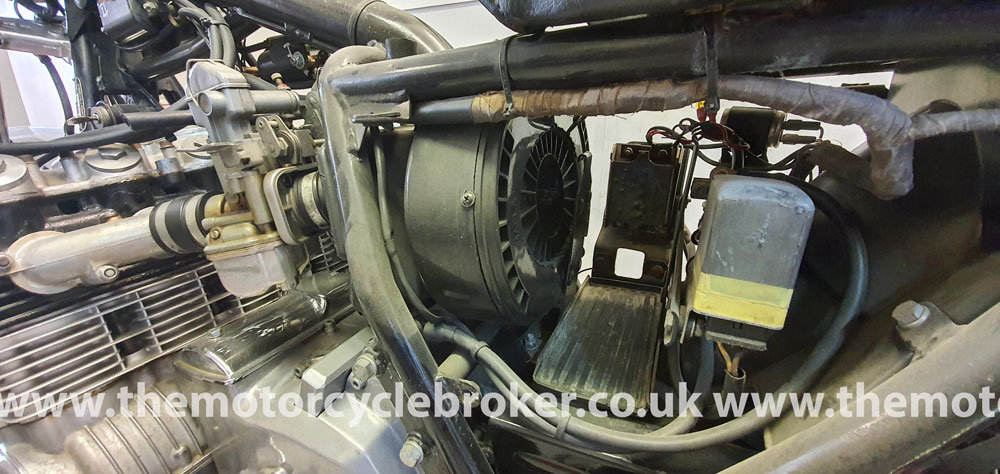
Although the airbox looked alright when it was fitted to the bike, once it was removed, it could be sen clearly how badly damaged it had been and how badly repaired too. It would have been leaking air and causing the bike to run very lean. These plastics become very brittle with age and require careful maintenance to prevent them becoming brittle like this. We did our magic and restored the airbox so now it is as good as new.


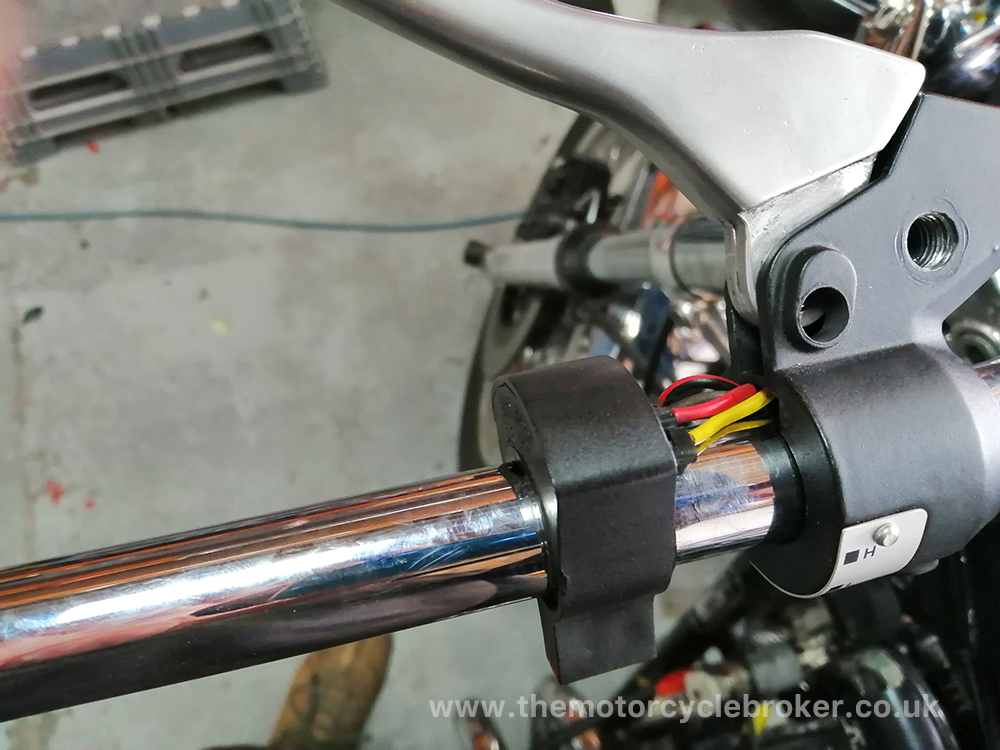
Electrics and chroming
The electrics were awful and did not work, which was no surprise when we saw the attempt to butcher the wiring loom. We rebuilt and restored all of the switch gear, it was all in very bad condition and required very careful rebuilding and restoration. The entire bike required completely re-wiring using the original wiring diagram as a blueprint. All of the chrome on the machine required stripping and re-plating, so everything went to Douglas Finishing who are absolutely brilliant. They managed to retain the made in Italy stamp on the headlamp bezel.
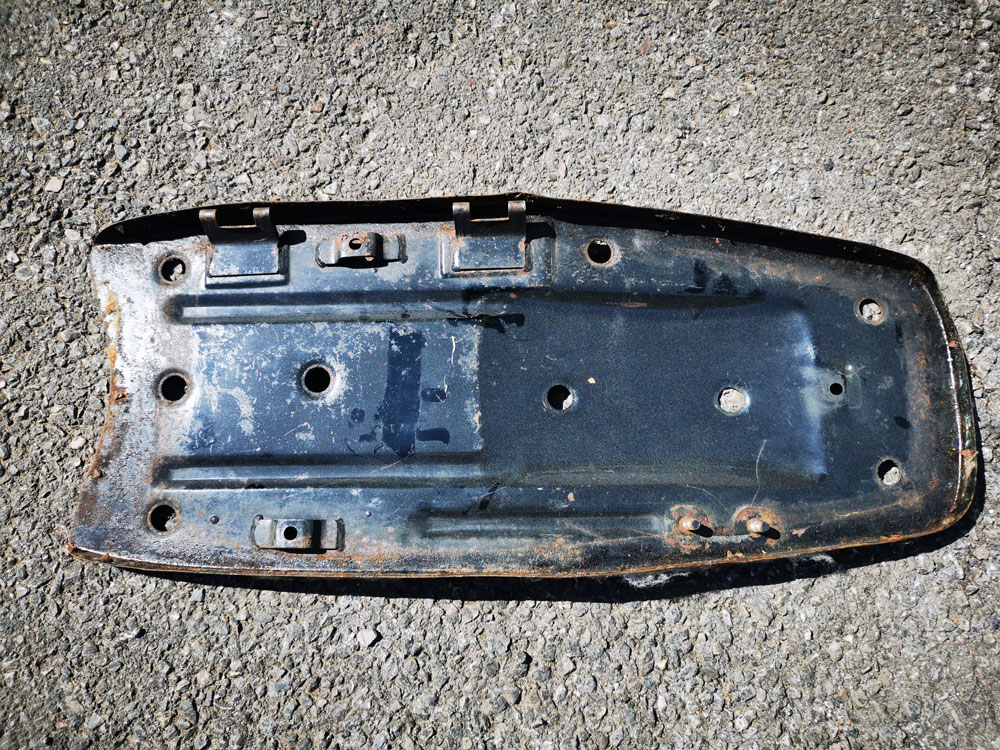
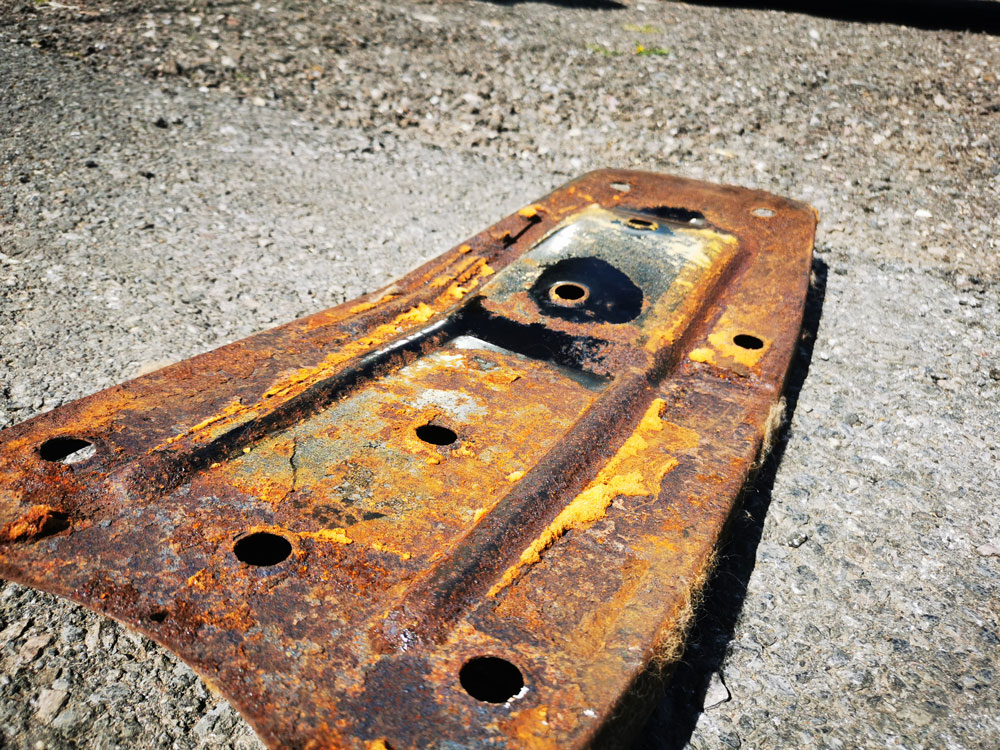
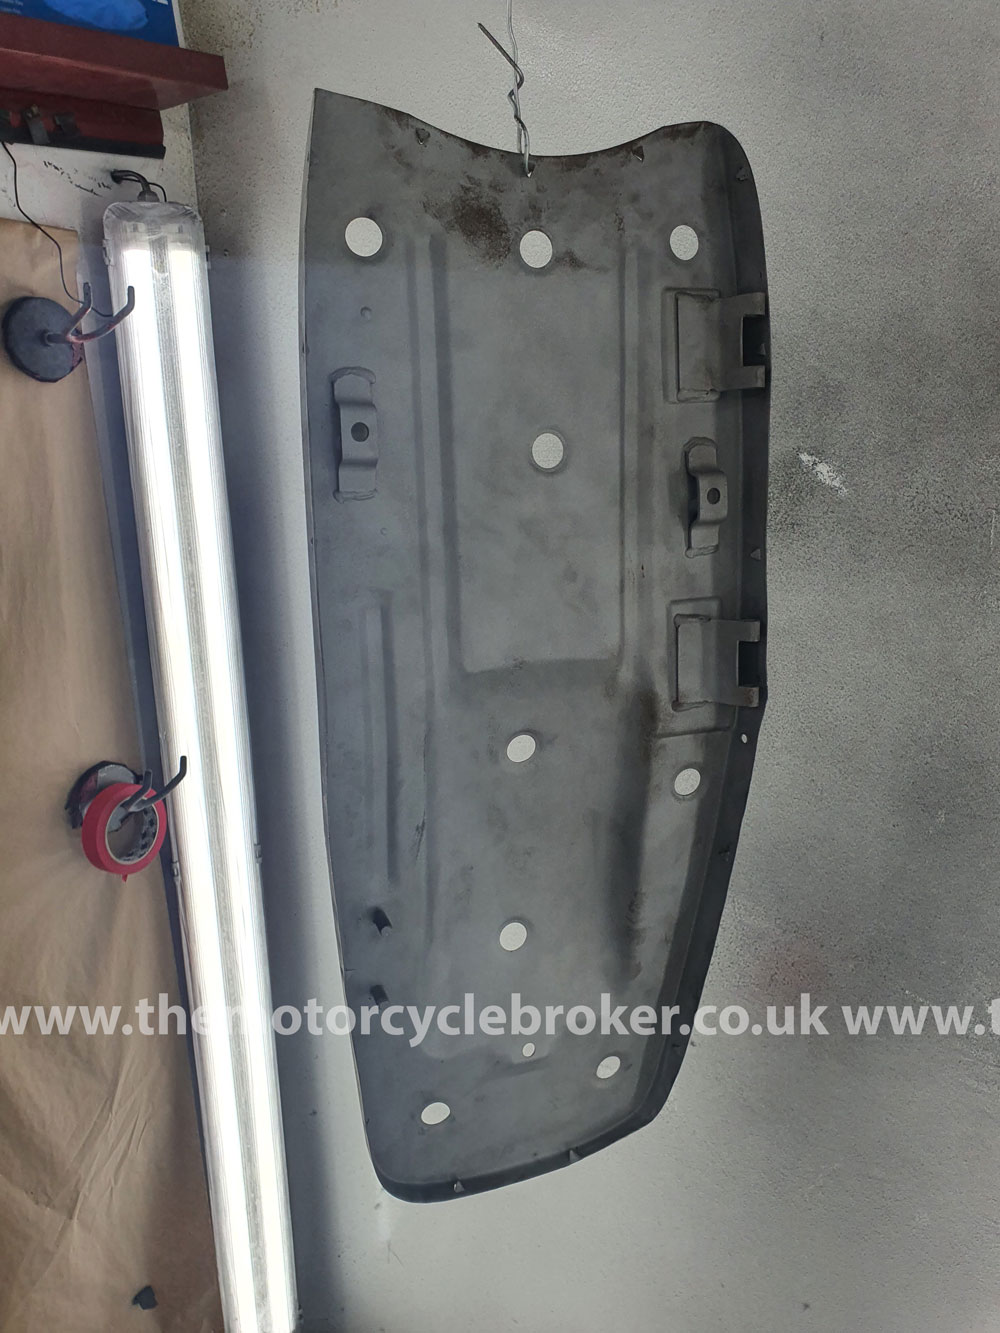
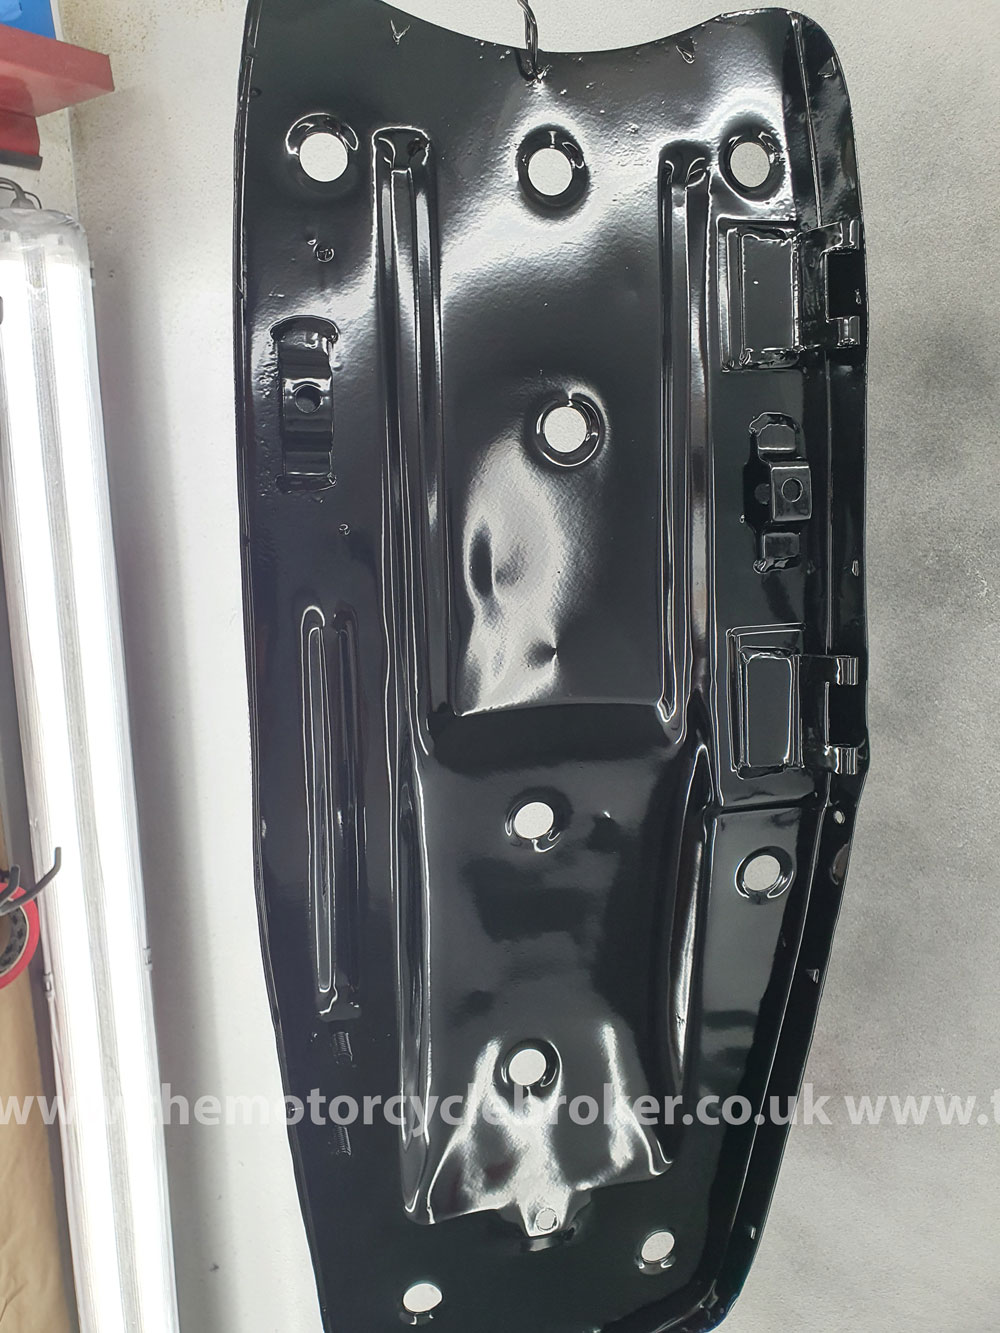
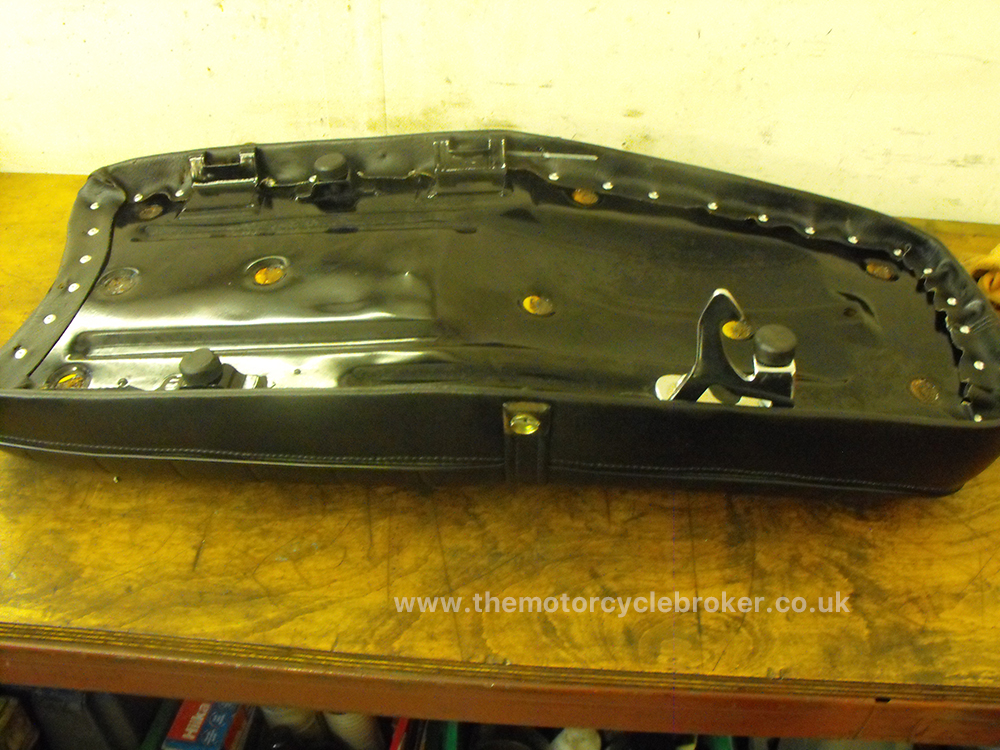
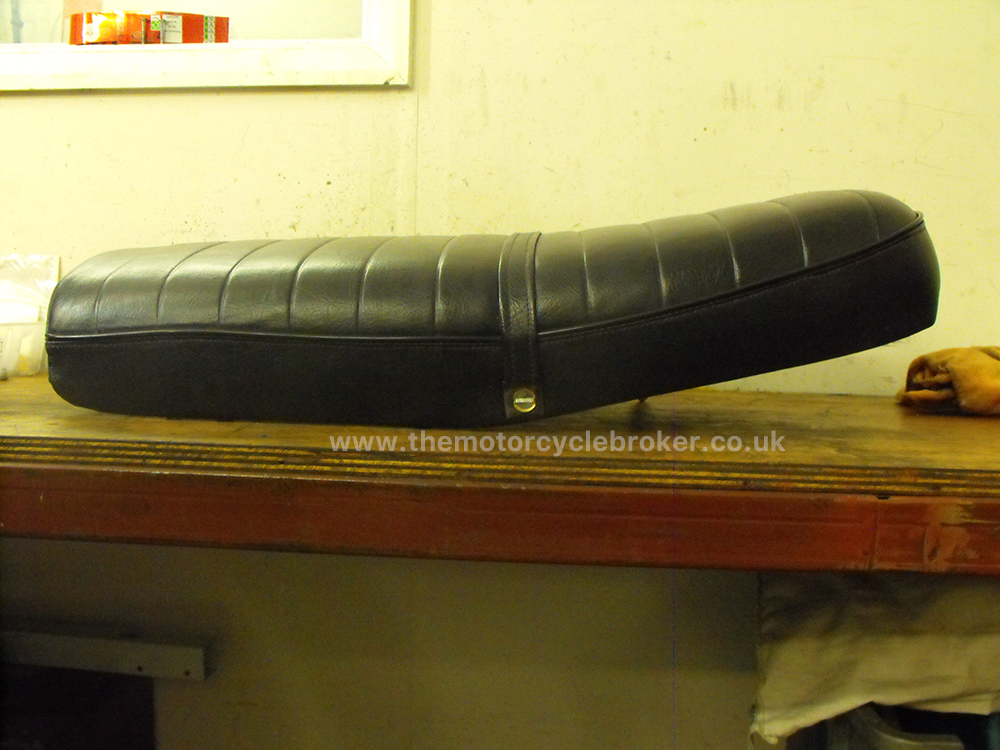
Seat
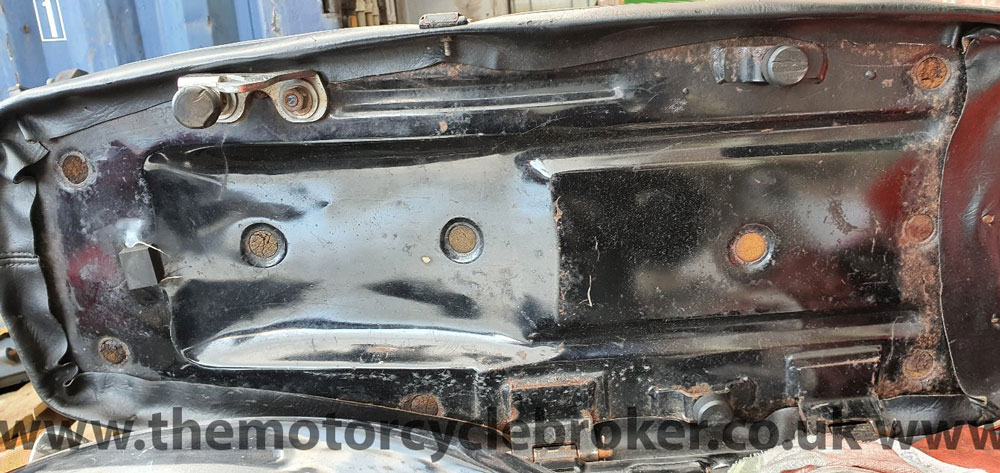
The seat was in a poor state, altho the original seat cover was, surprisingly in very good condition. We stripped the whole seat down into individual components, blasted the seat base and repainted it after treating it with an anti corrosion paint.
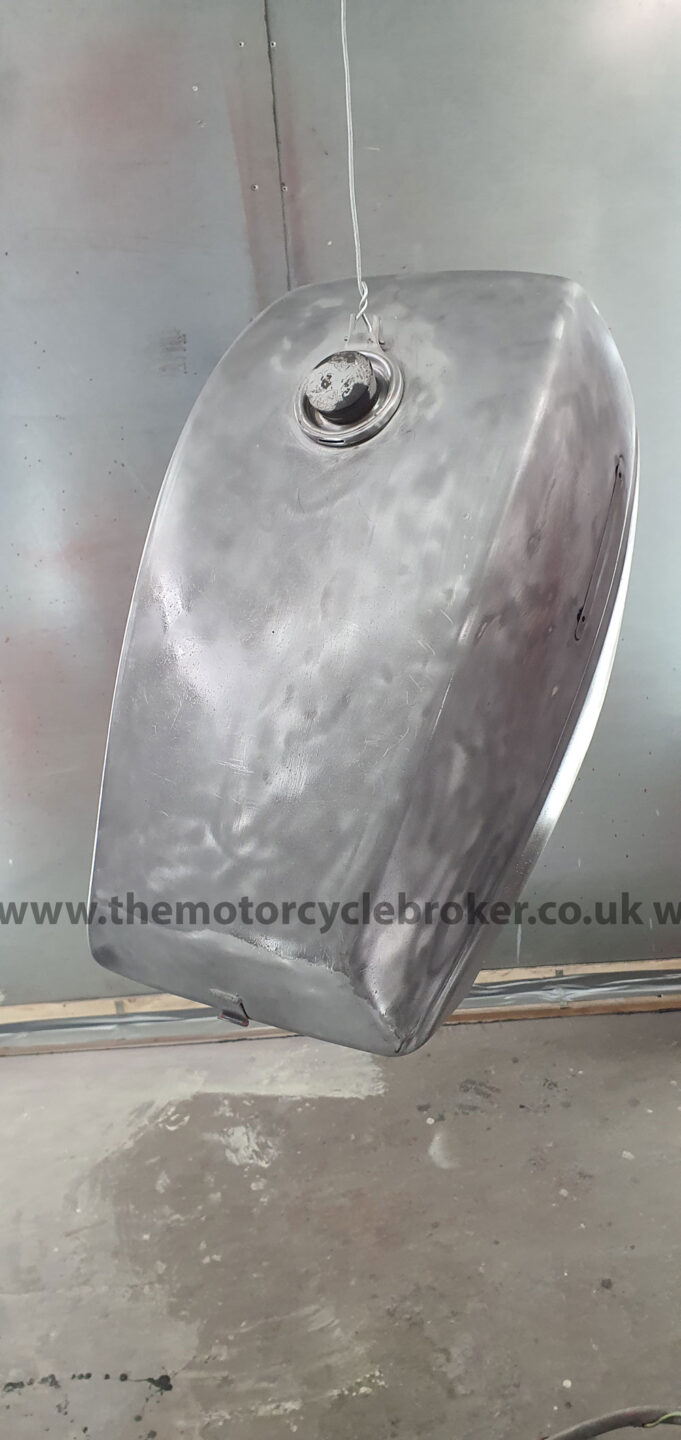
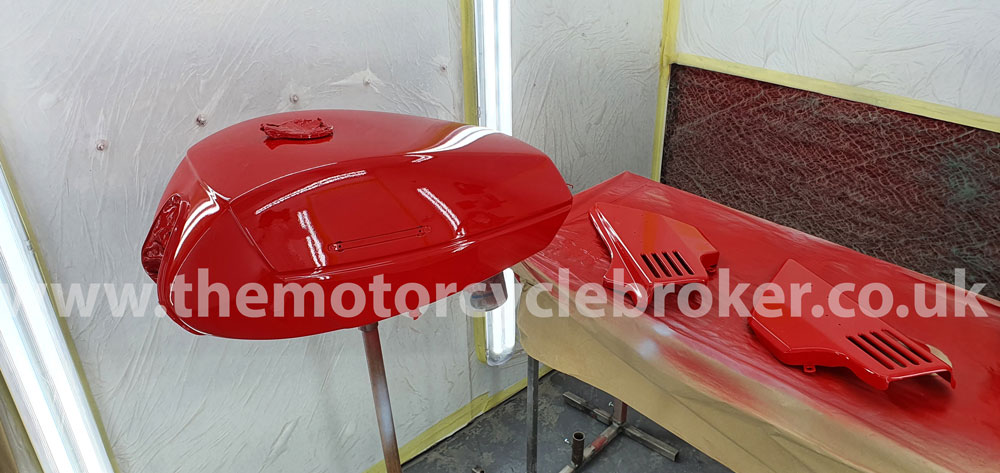
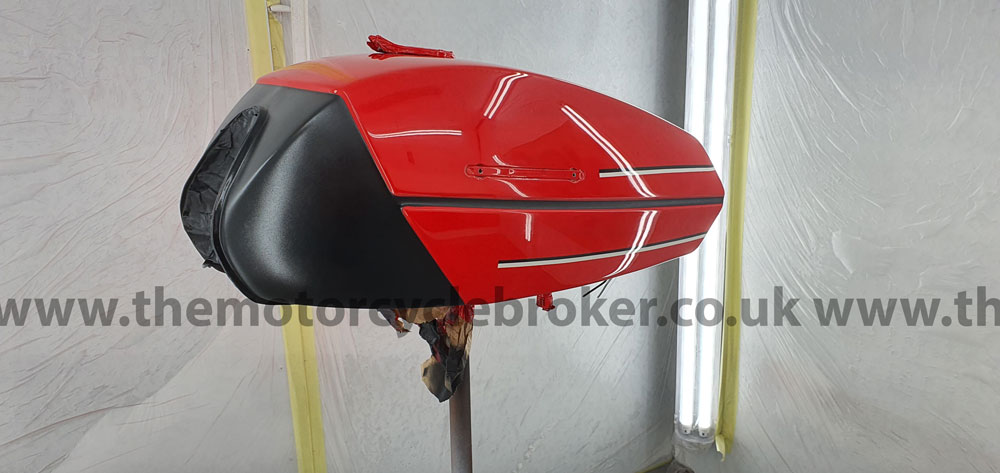
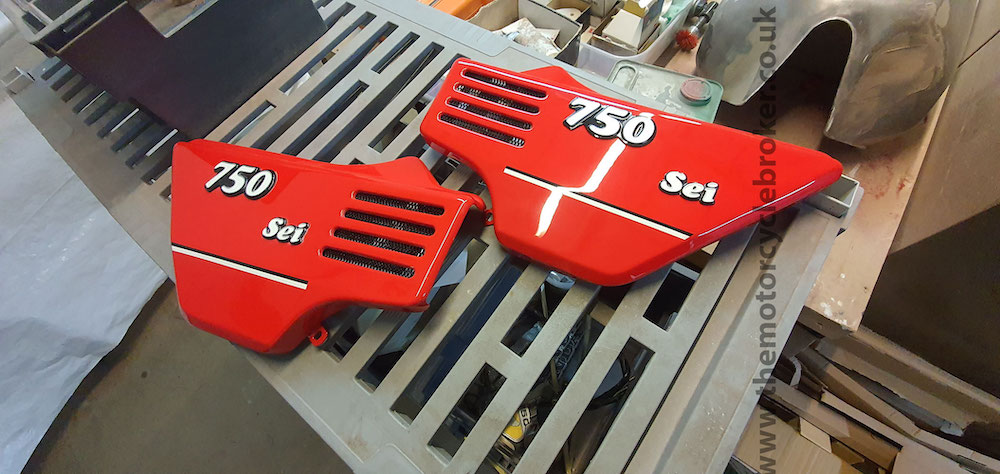
Body work
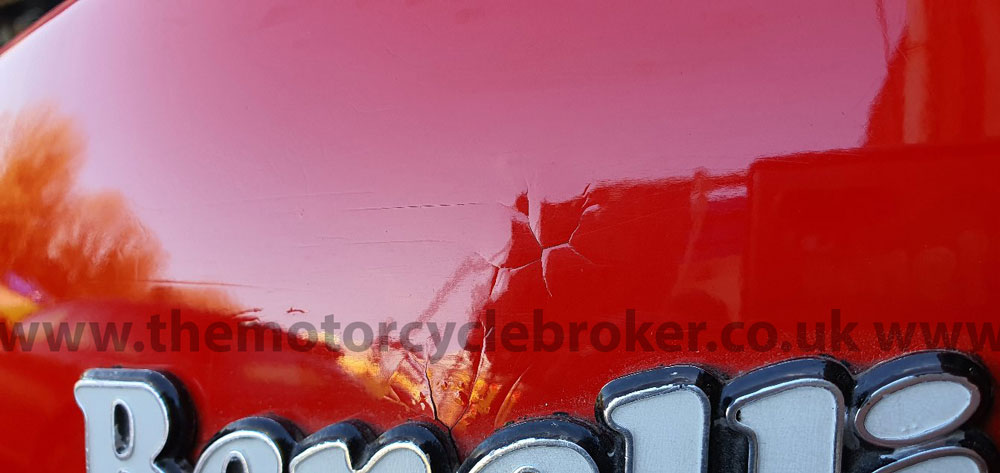
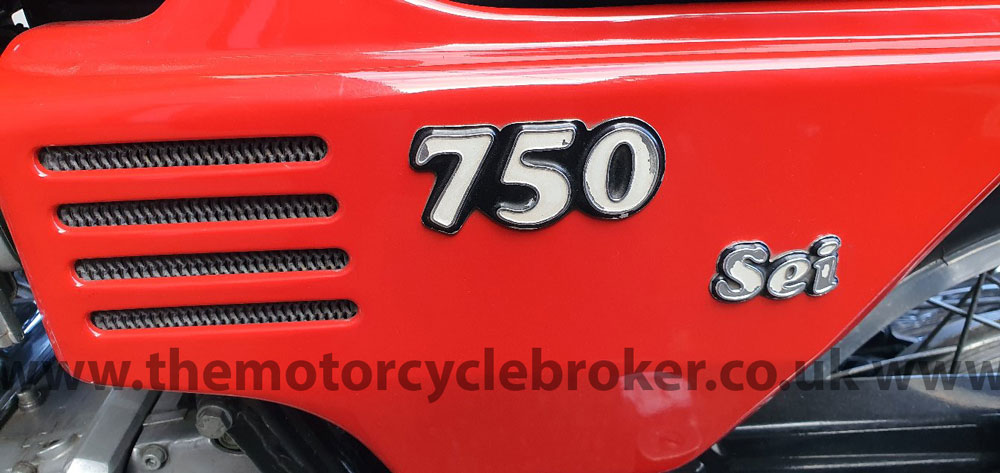
The petrol tank and side panels require stripping back to bare metal, treating with an anti corrosion coating, then it is primed, filled, given a guide coat, then filled and once everything look correct, the pieces are then primed again, rubbed back and painted with colour. The petrol tank is very difficult to paint as the black is matt/satin and cannot be lacquered and any flaws require respraying. The black and white lines are masked up and sprayed on and these lines, on this model, must lay parallel with the ground, which is not parallel with the bottom of the tank or side panels. These body parts must be masked up when the parts are on the machine and this paint scheme is far more tricky than it first appears.


Ready for test riding
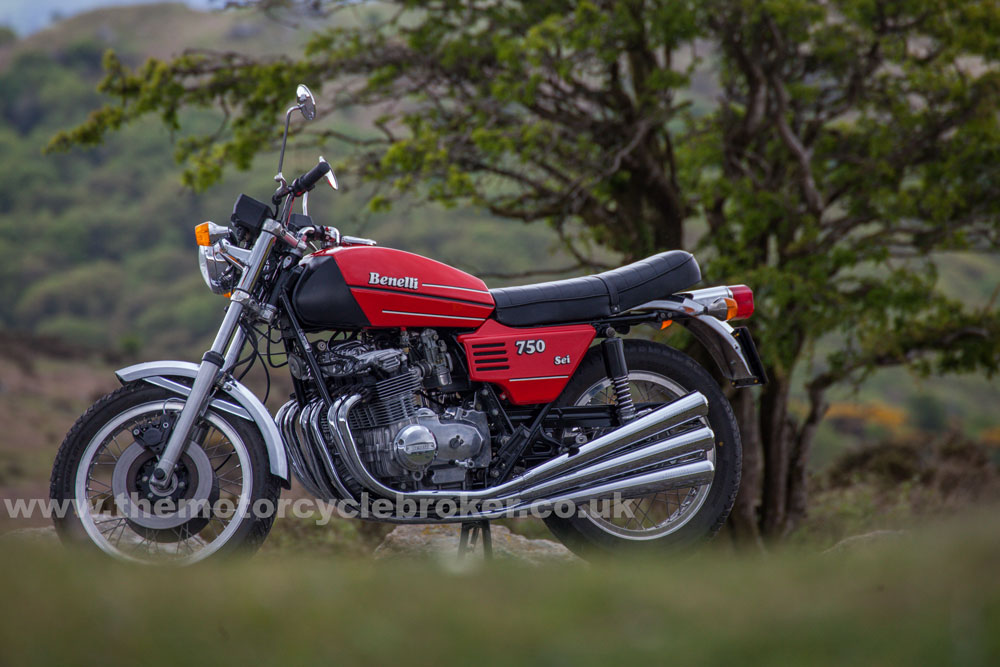
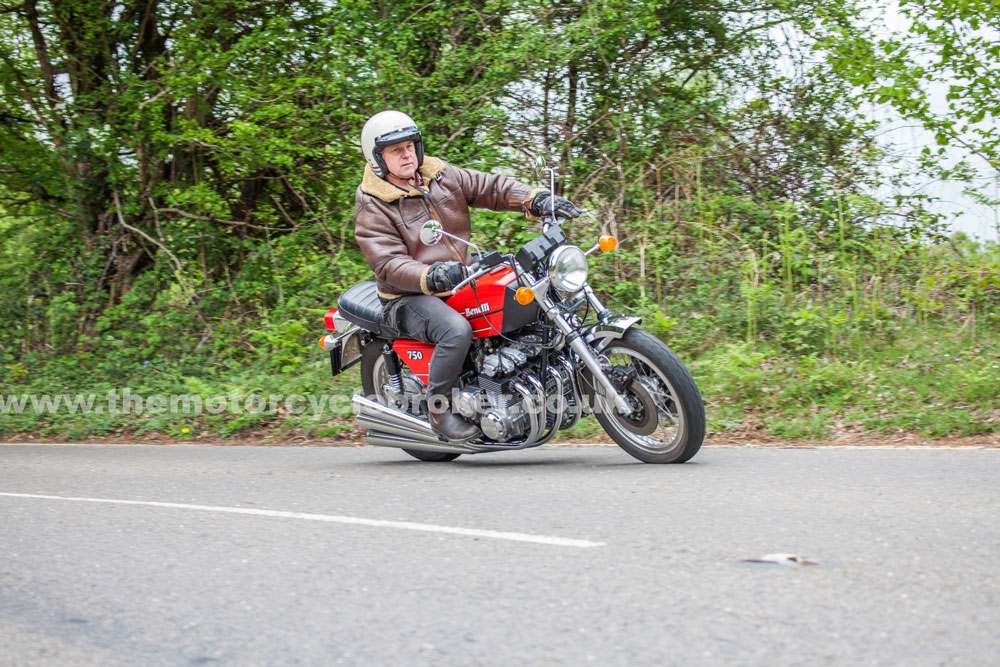
Investment grade Benelli Sei 750
All of this work has produced an investment grade Benelli Sei 750 which looks like new and rides like new. There is so much detail we have not gone into, such as the brakes, rebuilding the carburettors and straightening out all of the bent linkages and much, much more. The point of this article is to inform and demonstrate how much work goes into a proper restoration. We also want to inform buyers so they don’t look at a motorcycle which appears to be an easy restoration job and they take on this amount of work which most of them are not equipped to deal with and so buyers of classic motorcycles understand the costs involved. We have a screw compressor, paint booth, grit, aluminium and soda blasting, professional polishing equipment, a fully trained painter and trained mechanics and engineers. We started with a machine which had the ingredients for an investment grade classic motorcycle, but we uncovered, as always, some really grim work. Some people believe that they will become millionaires in their sheds, but classic motorcycle restoration is far more complex than “‘avin’ a go meself”. There is only one way to ensure that what starts with the ingredients of an investment grade classic motorcycle is transformed into an investment grade classic motorcycle. We are not complaining about the work, as we love doing it, but we want to inform you fo the difference between and investment grade classic motorcycle restoration and everything else.
- Most collectible Ducati 916 SP - June 20, 2024
- Classic Motorcycles: To ride or not to ride? - June 17, 2024
- Classic Motorcycles: To ride or not to ride? - June 17, 2024


Leave a Reply