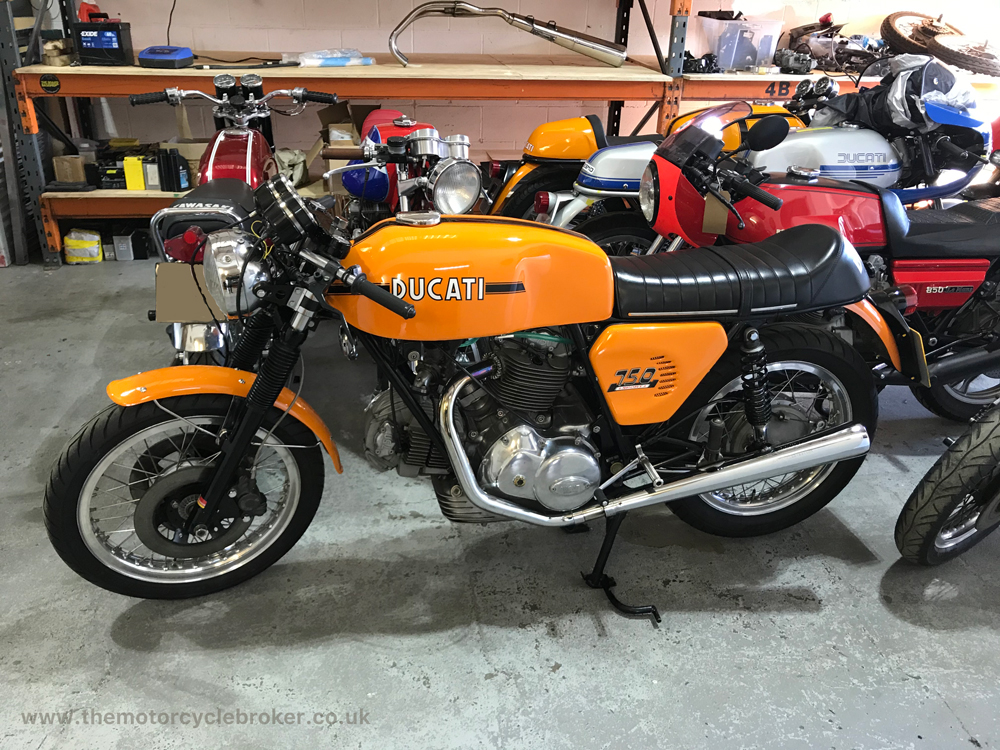
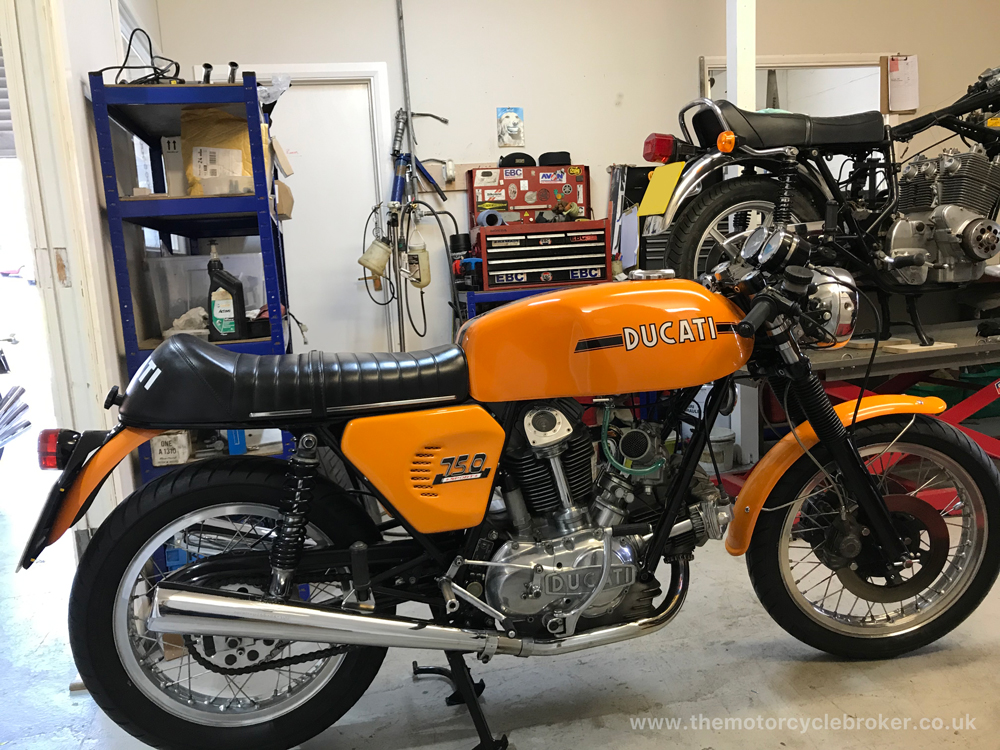
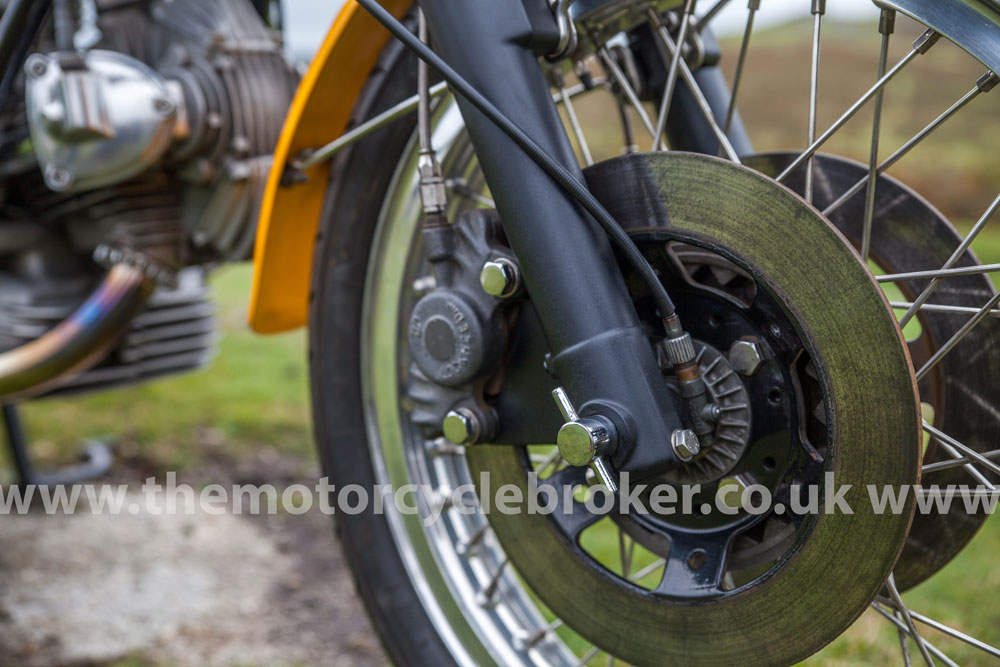
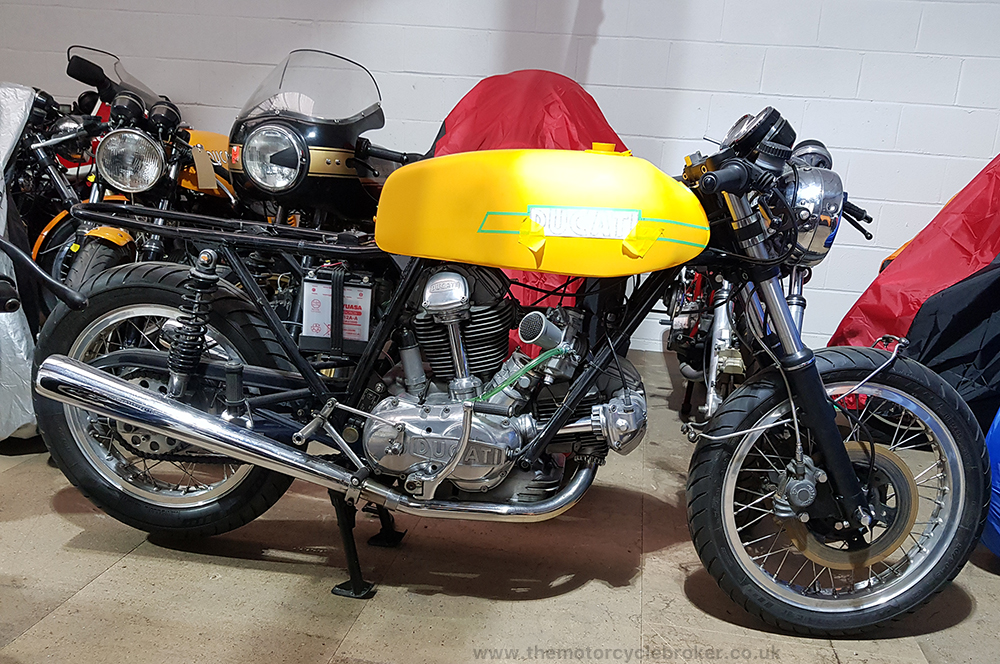
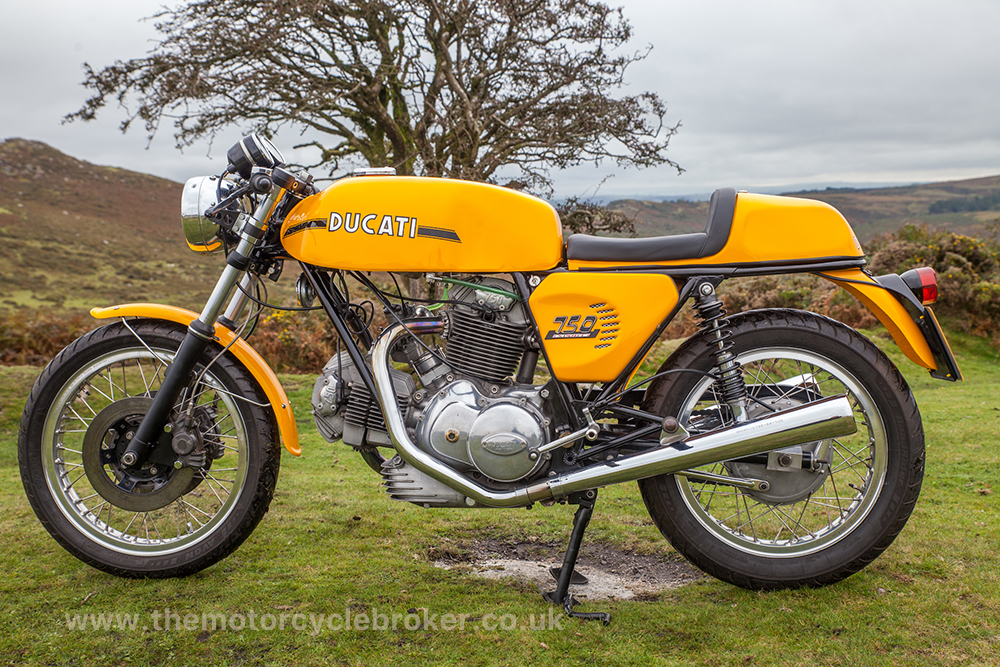
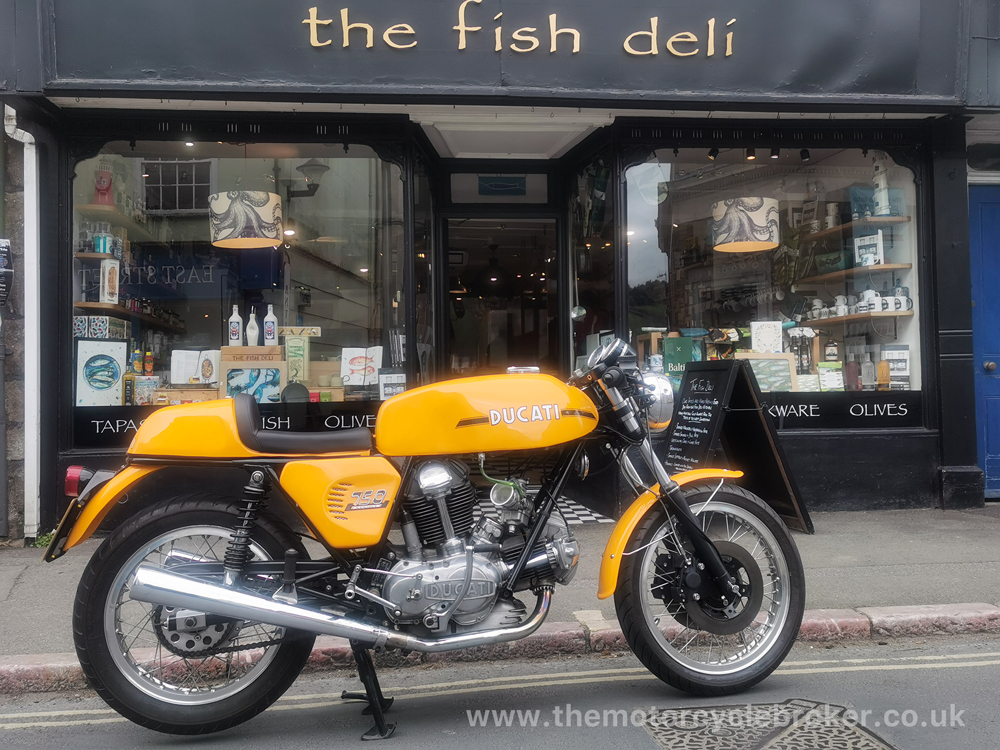
This beautiful Ducati 750 Sport of 1974 vintage is the type of machine anyone would gladly buy at auction or from a bike shop. It is a beautiful looking machine having a had a very thorough restoration after 100,000 kms. The bike came with incredible history and a two up seat, which was an option for the UK and Australia only in 1974. The new owner wanted us to fit a colour matched single seat and keep the ability to retain the twin seat as well. All easy enough, we had already noted the see through bevel drive cover they wanted returned to standard and the finish on the forks and yokes were incorrect. The motorcycle started and ran well, requiring what seemed like some carburation issues to be ironed out. Clearly someone had spent a fortune getting this machine up together and it looked very good indeed. However, we are very experienced in classic motorcycles and know what to look for and what to expect, so we budget for this when buying. What is most important is that the correct ingredients are present and the remedial work can be done in house. We knew that the front brakes were incorrect but also knew where we could buy NOS parts for this part of the work. The motor had been beautifully rebuilt and ran without any cause for concern, but the machine certainly came with issues, making it a perfect candidate for our work.
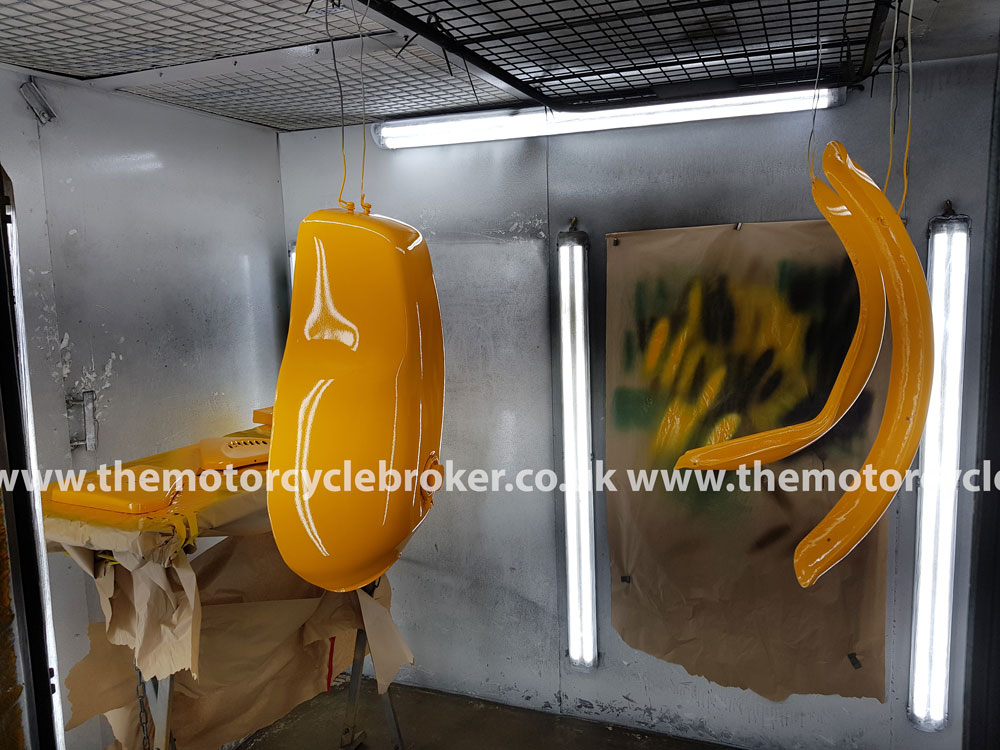
Paint
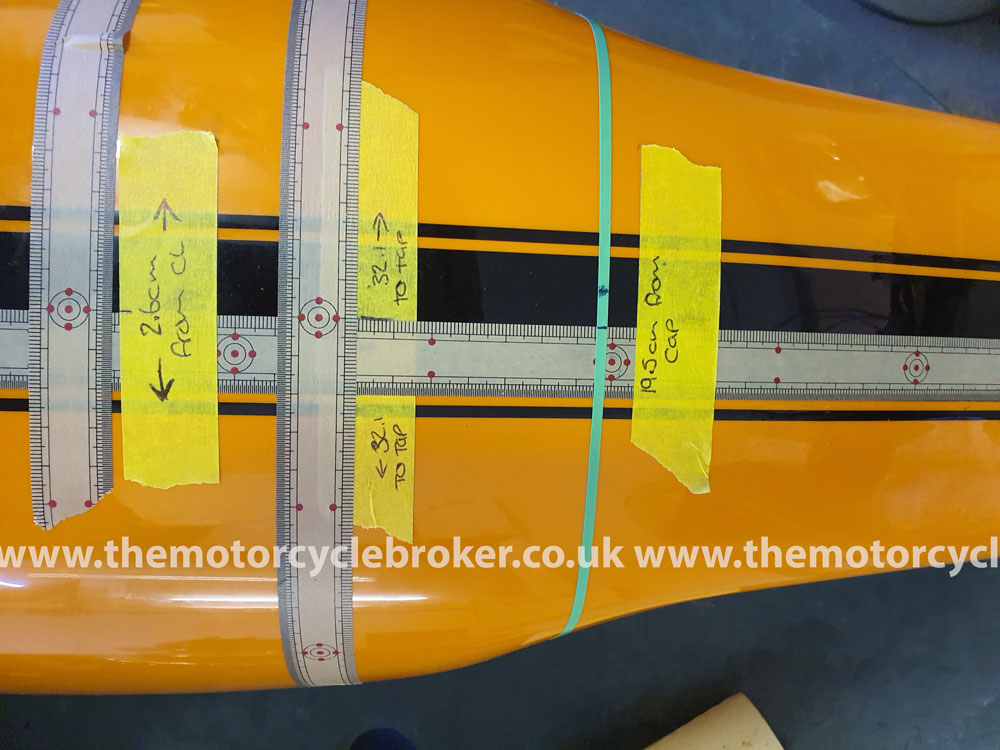
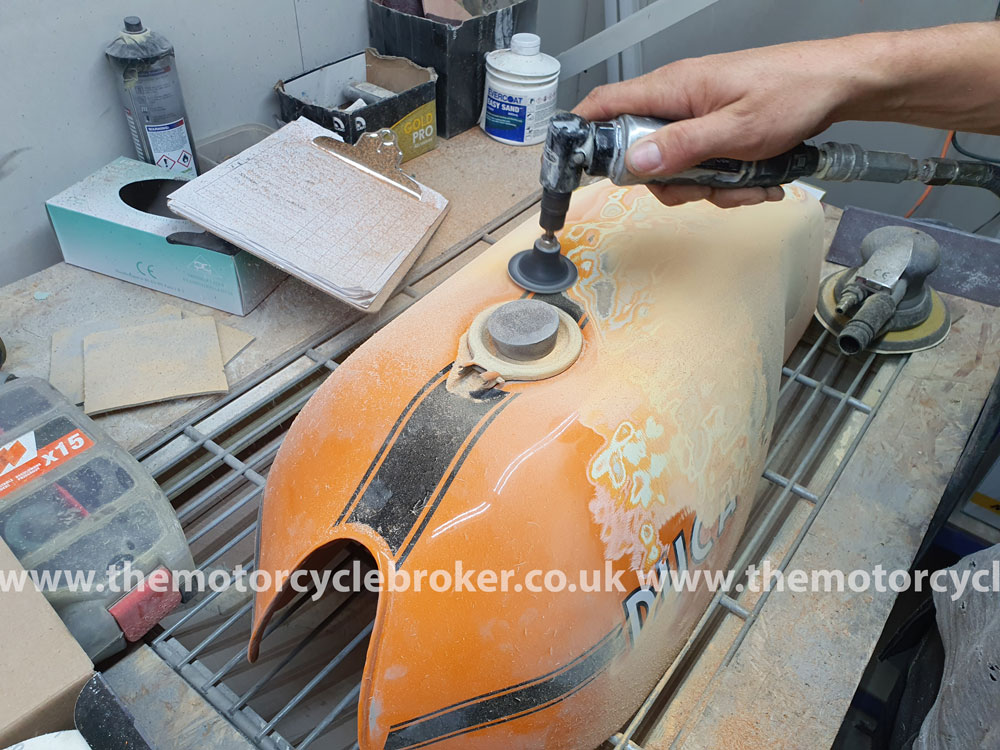
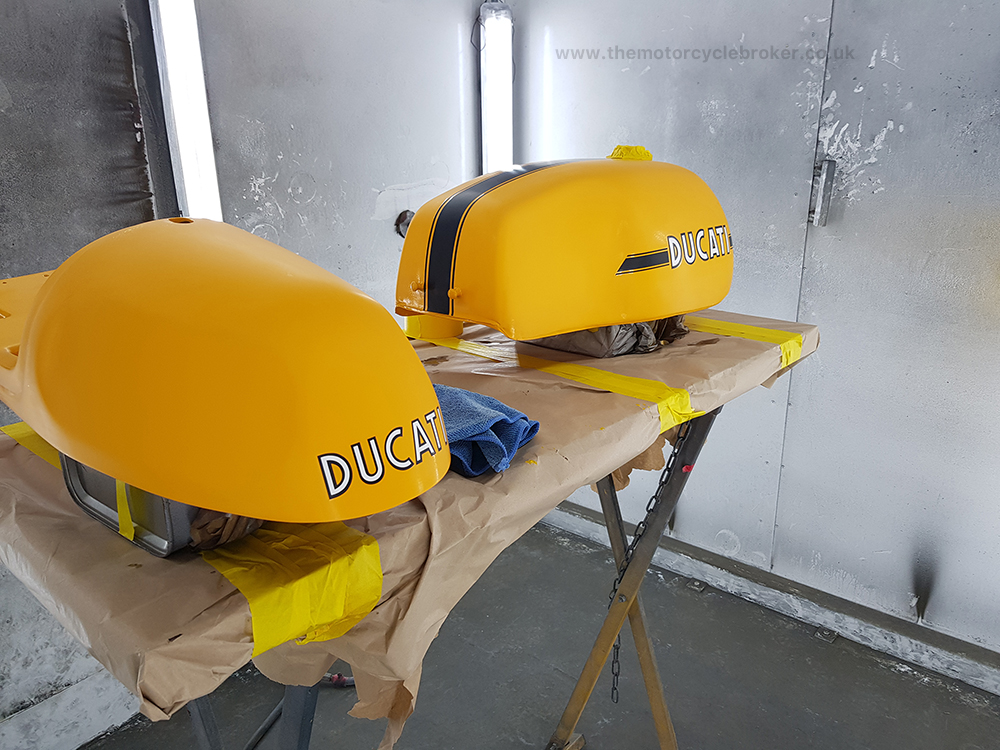
First off we could detect some problems with the paint, the front forks and yokes were never smooth gloss and the orange looked good, but once in the light it was clear that nearly all of the panels varied in colour. The orange Ducati used for these bikes is a metameric paint, like the 916 series reds are. The link describes it almost as a fault, but it’s more about how the older paints work and this won’t be picked up by a scanner. A colour can look great in workshop light and then completely different in daylight, and vice versa, or from different angles. This is because the paint could have a different base coat, different coloured primer or it could have ben tinted. Older paints are almost impossible to match without serious experimentation, because they are a completely different chemical make up and they behave very differently and this all affects colour. We took one hundred and thirty attempts before we could successfully recreate the Ducati GT750 candy bronze colour. In the case of the Ducati 750 Sport, each panel, except the two side panels, was a slightly different colour when seen in sunlight. Once seen, it’s extremely annoying and our experience with paint work soon sniffs this problem out. Further to the colour problem, the petrol tank decals were the wrong size and the rear mudguard was about to split and break around all of the fixing points. The side panels were original orange gel coat and were about to break at each fixing point, as is a fairly typical problem with fibreglass this age as fibreglass shrinks over time, you can read more about this particular problem in this article.
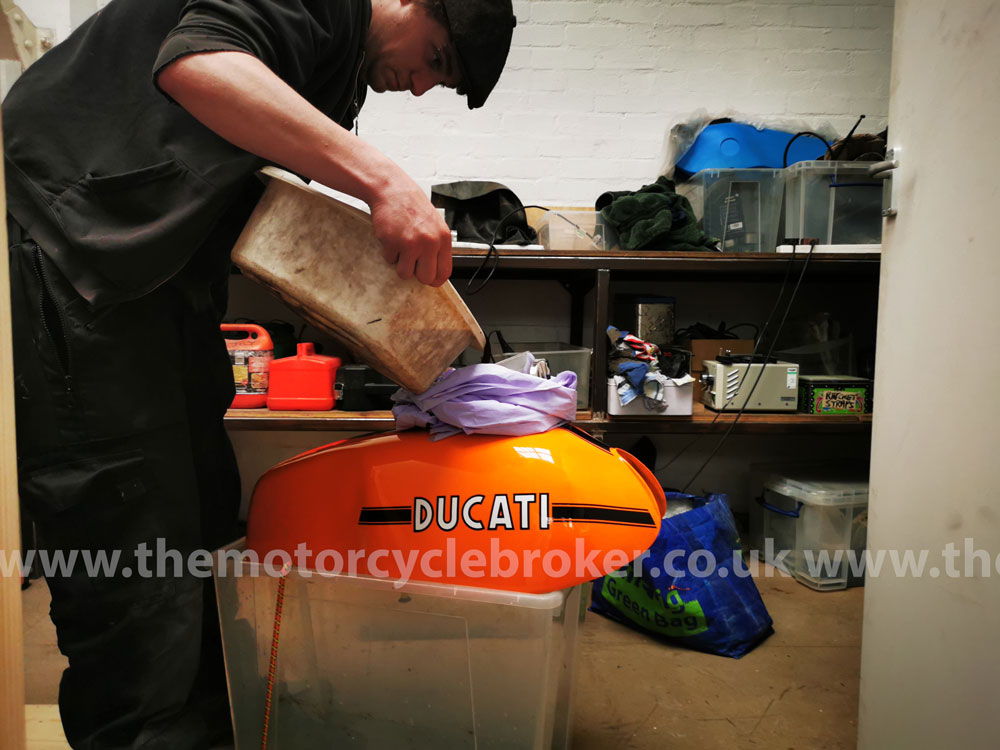
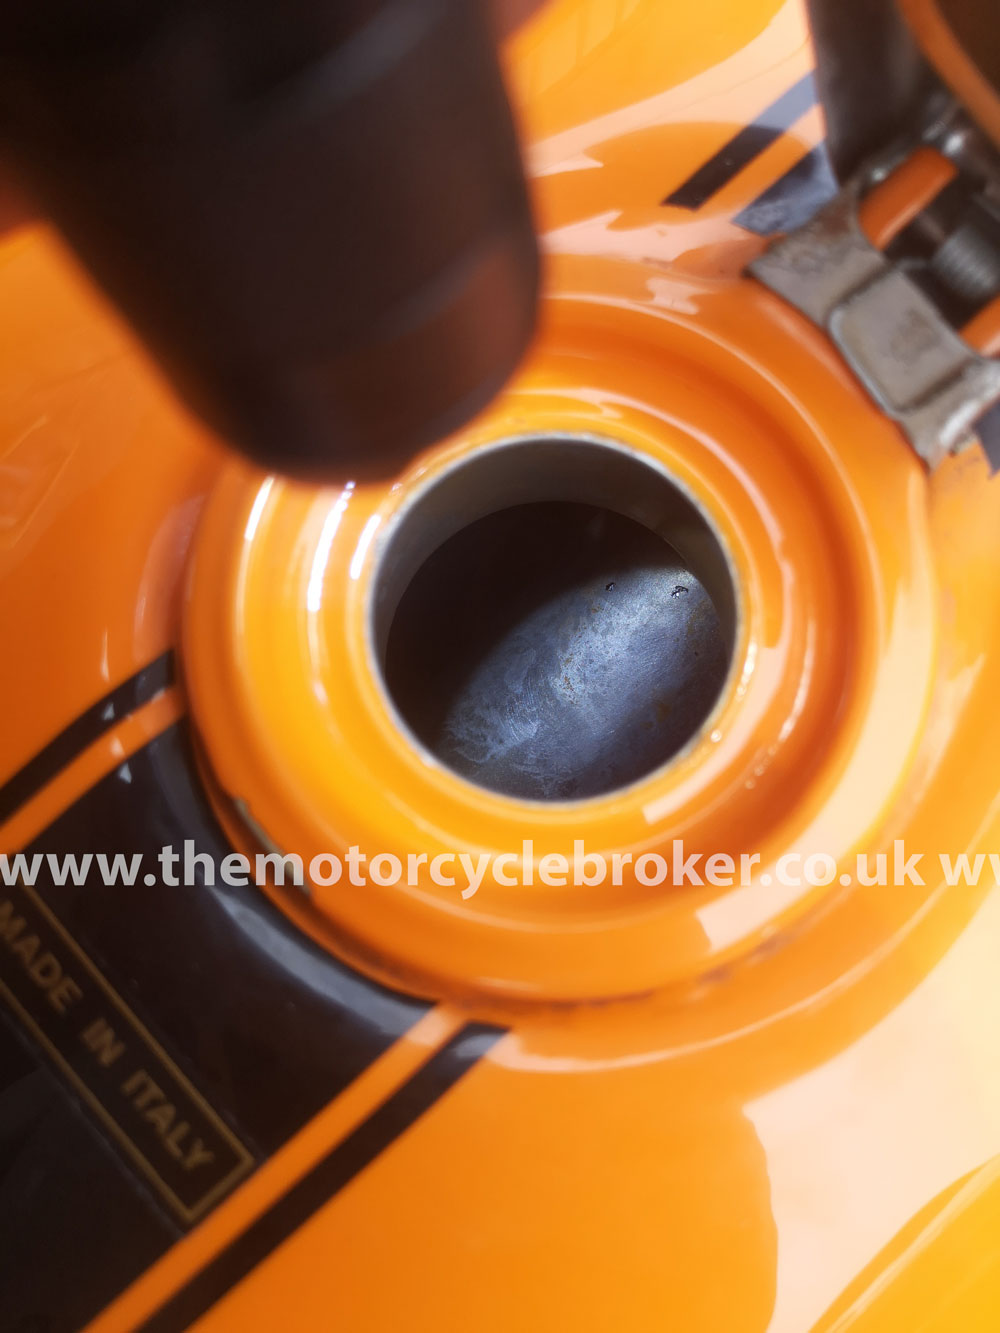
Petrol tank cleaning
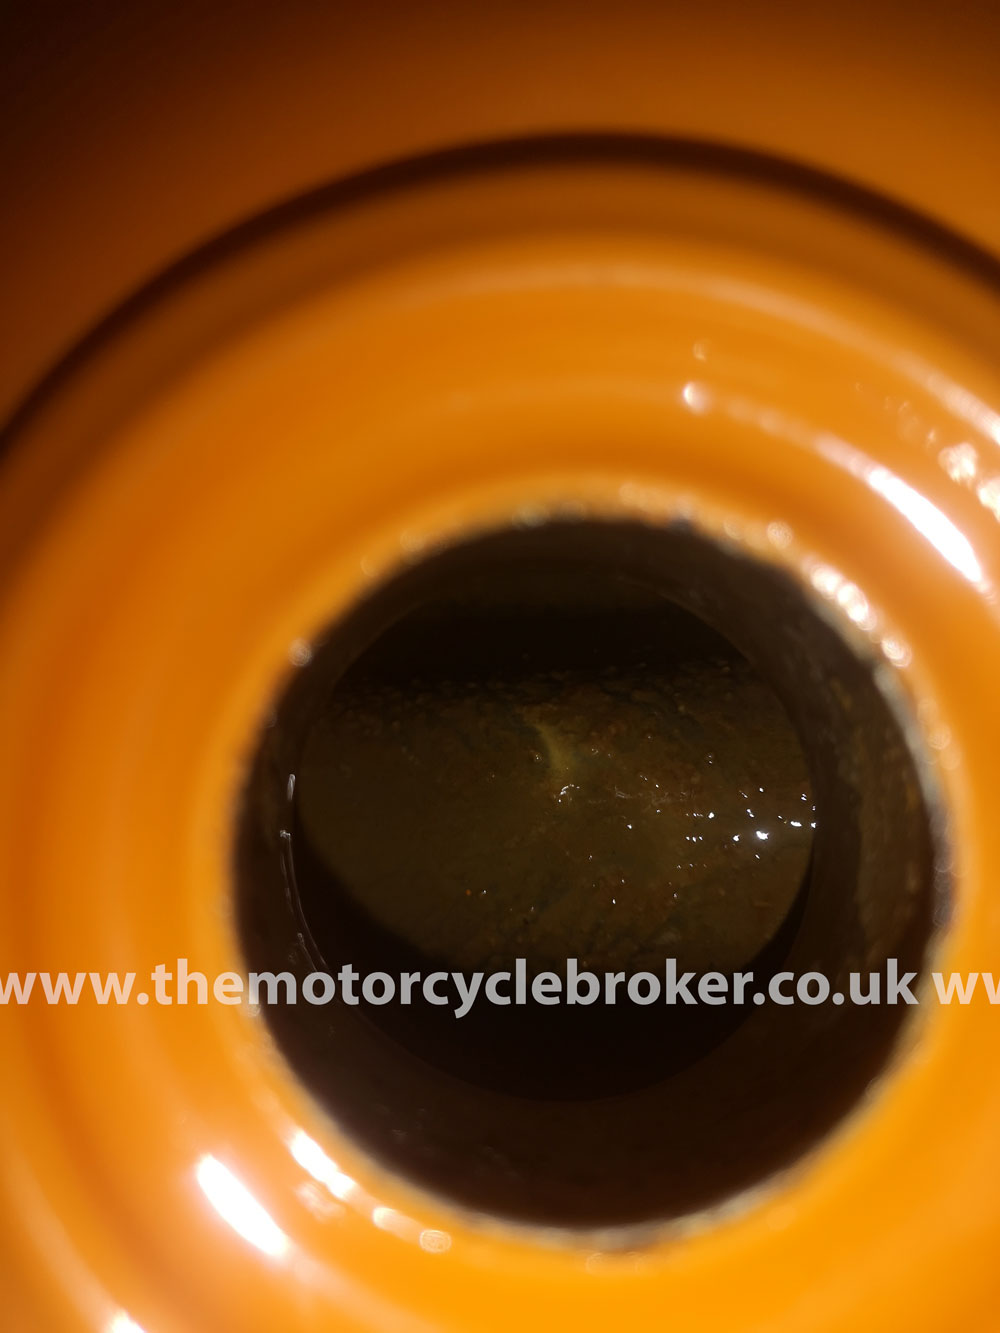
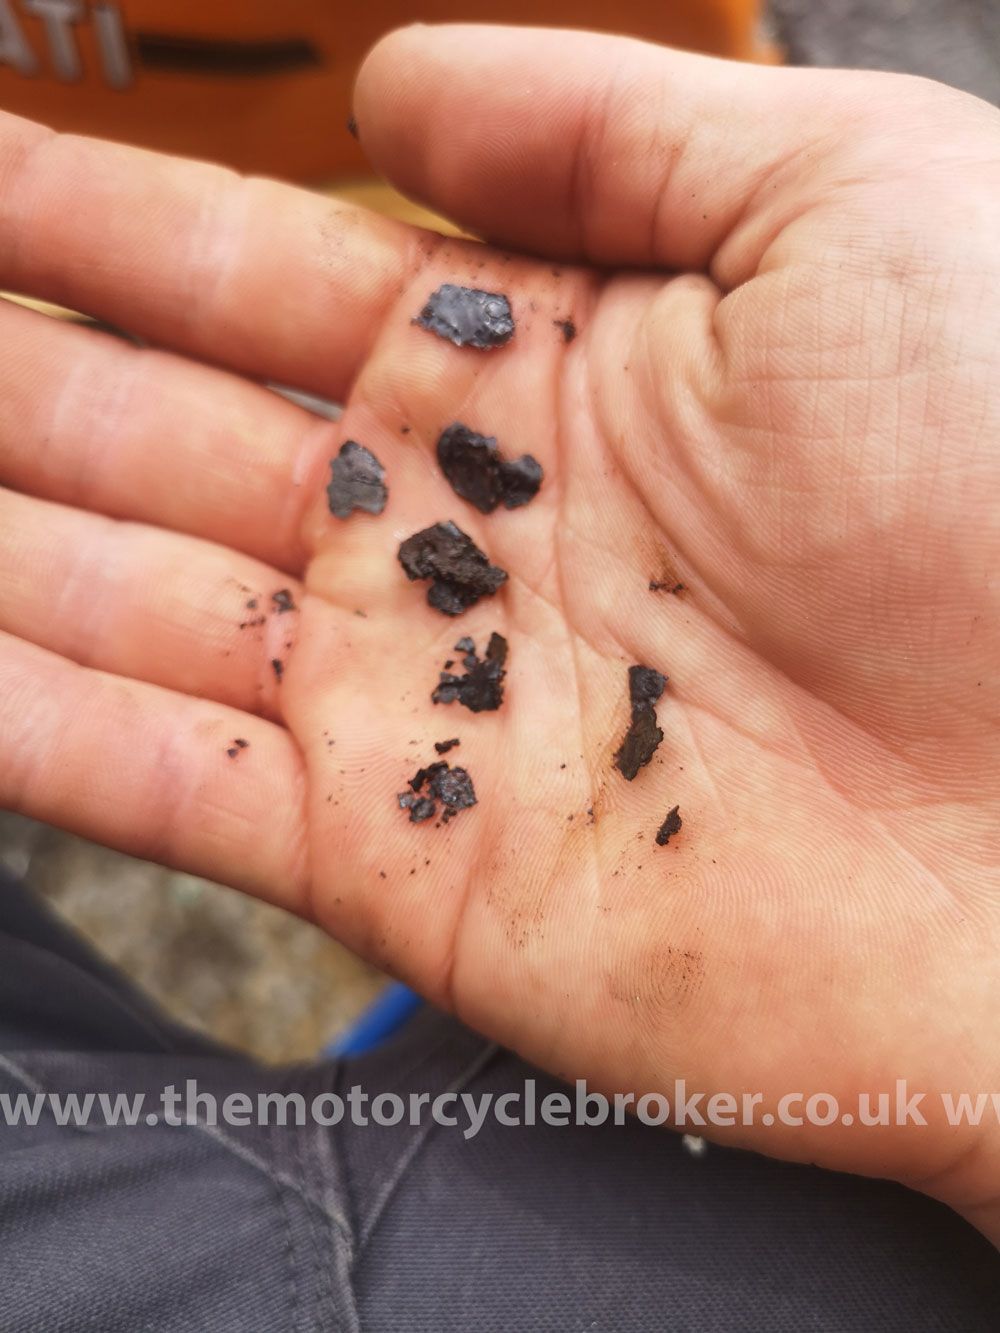
Inside the petrol tank the carburation problem became clear with a light rust everywhere inside the tank. We knew we had a lot of work in front of us, as you’ll see, and best way of dealing with a petrol tank with such light rust is to clean it out thoroughly and then fill it up with horse feed molasses. It sounds ridiculously strange, but it really does work and is the least aggressive way of resolving the problem. Once the tank is filled with the molasses, it is kept at a temperature which creates fermentation and it cleans the steel thoroughly over a thirty day period. The tank has to be checked, agitated and supervised every day. This is a far better solution than a tank liner, as it is permanent as long as the petrol tank is correctly cared for.
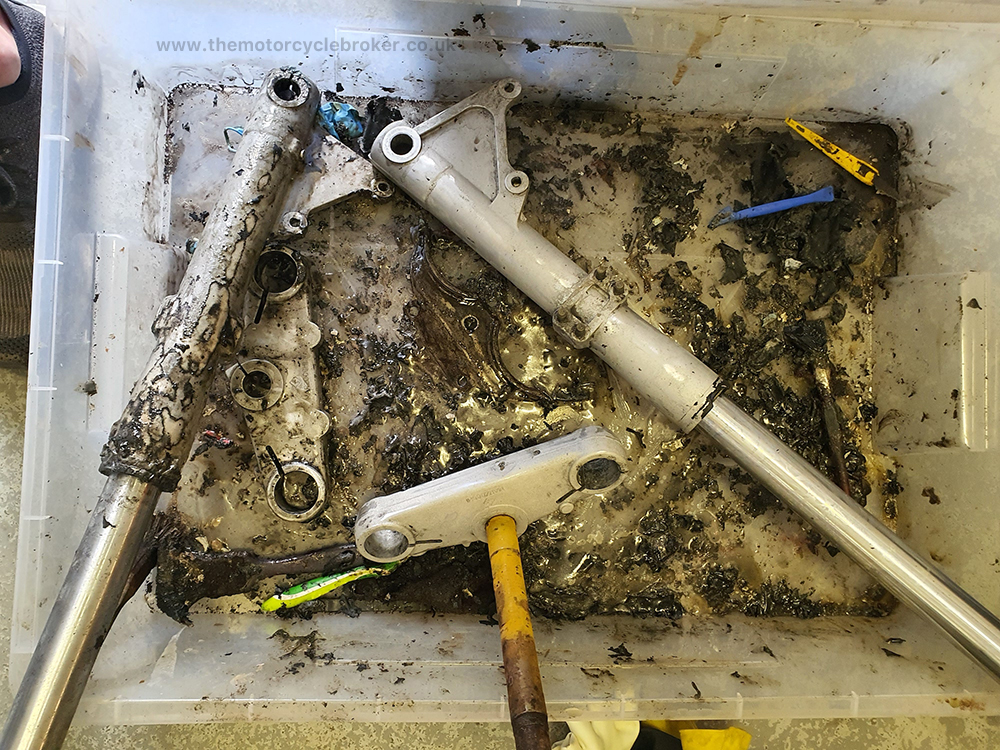
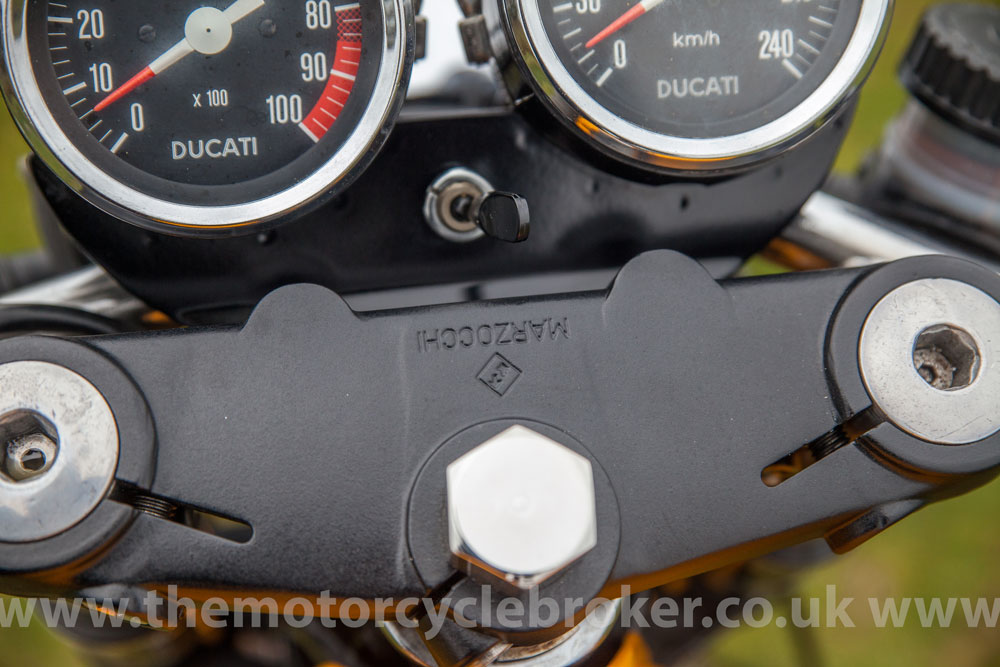
Front forks
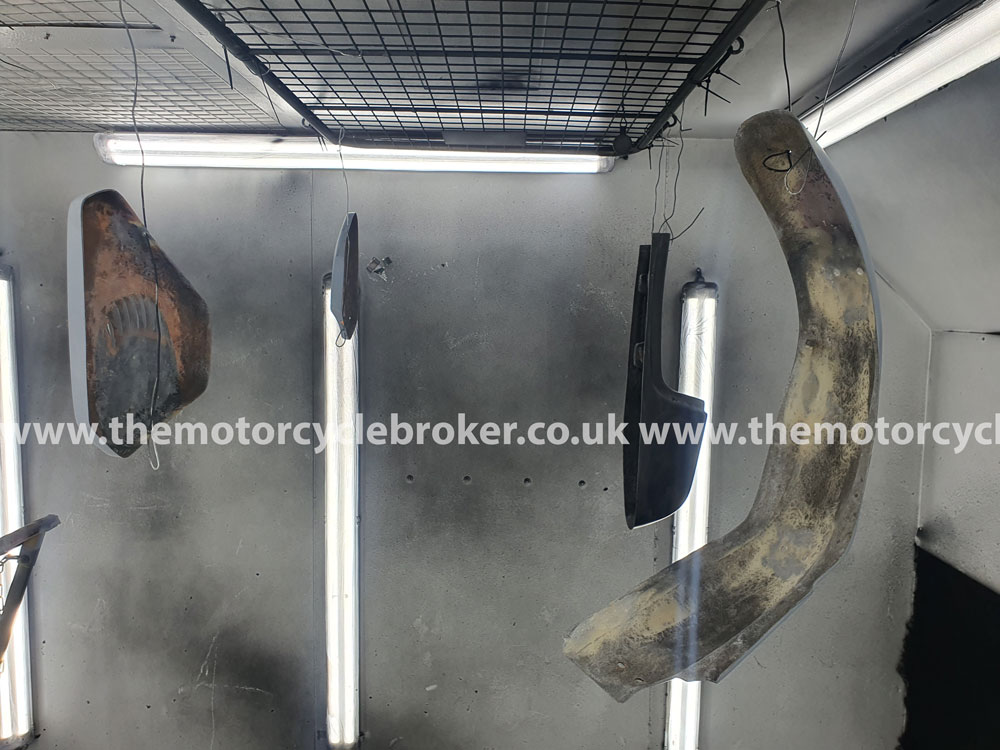
The front end was completely removed and stripped ready to paint the fork legs and yokes. The forks and yokes are stripped using paint stripper as blast media will be retained and cause problems in the future inside the fork damping and where the fork legs sit inside the yokes. Once stripped to bare metal they are keyed ready for paint. Any chips in the aluminium are filled with a marine grade epoxy filler, primed and painted in a textured matt black 2K paint and baked.

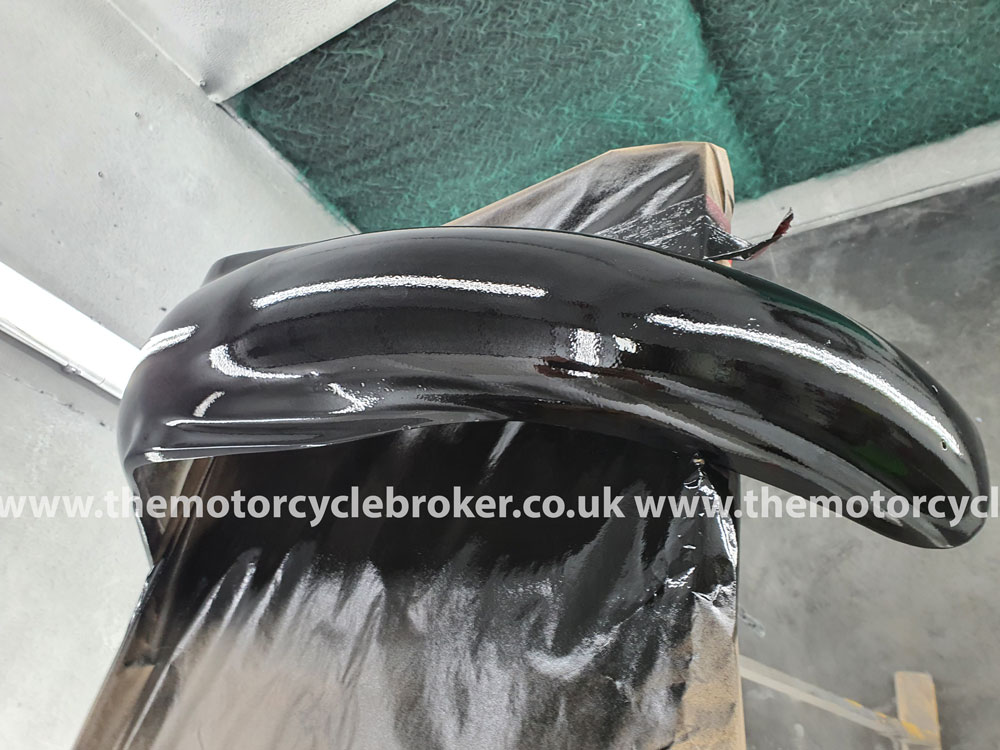
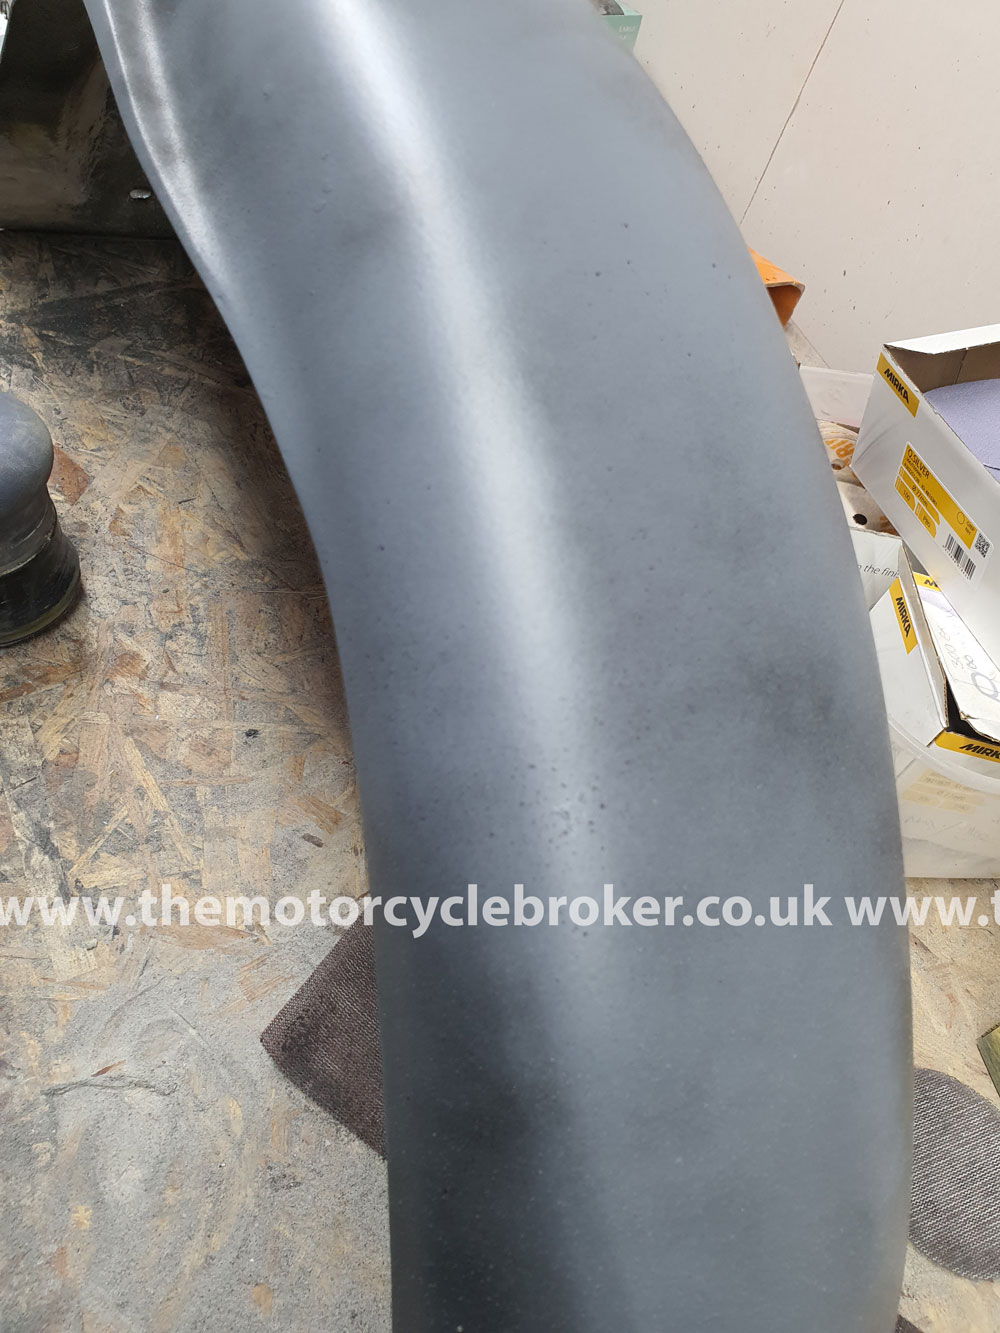
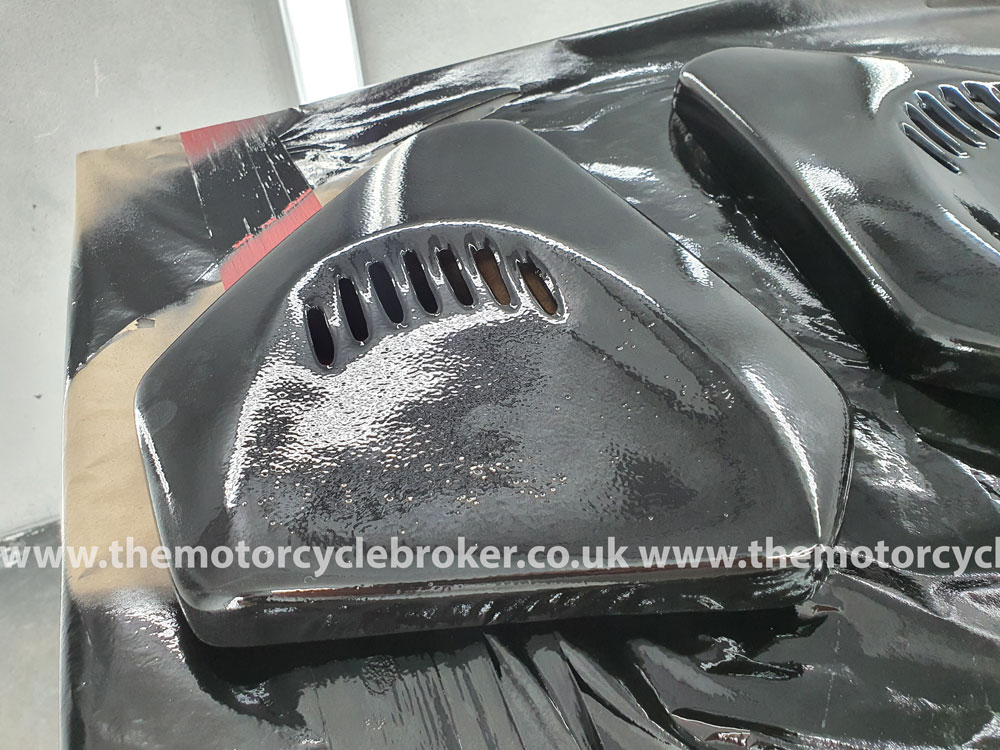
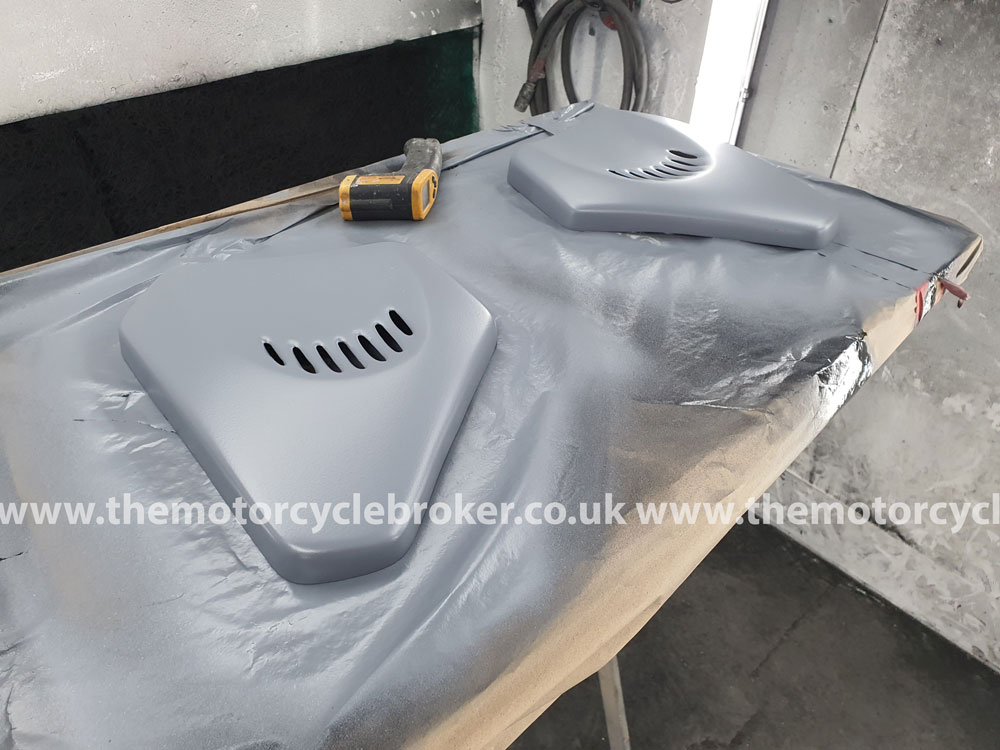
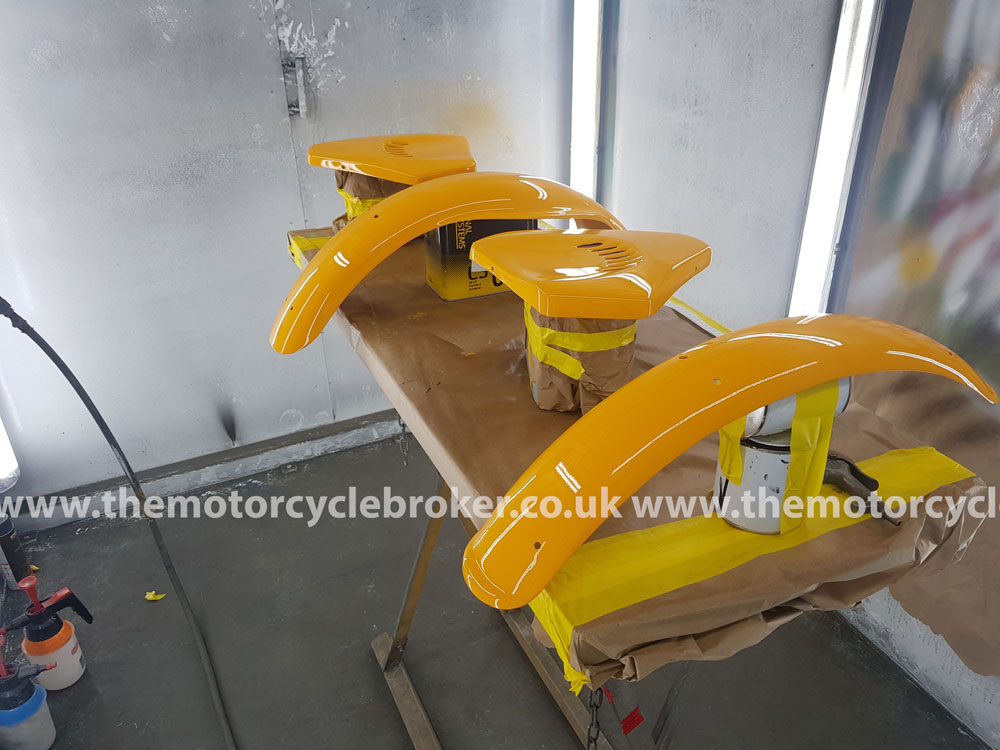
Bodywork and new seat
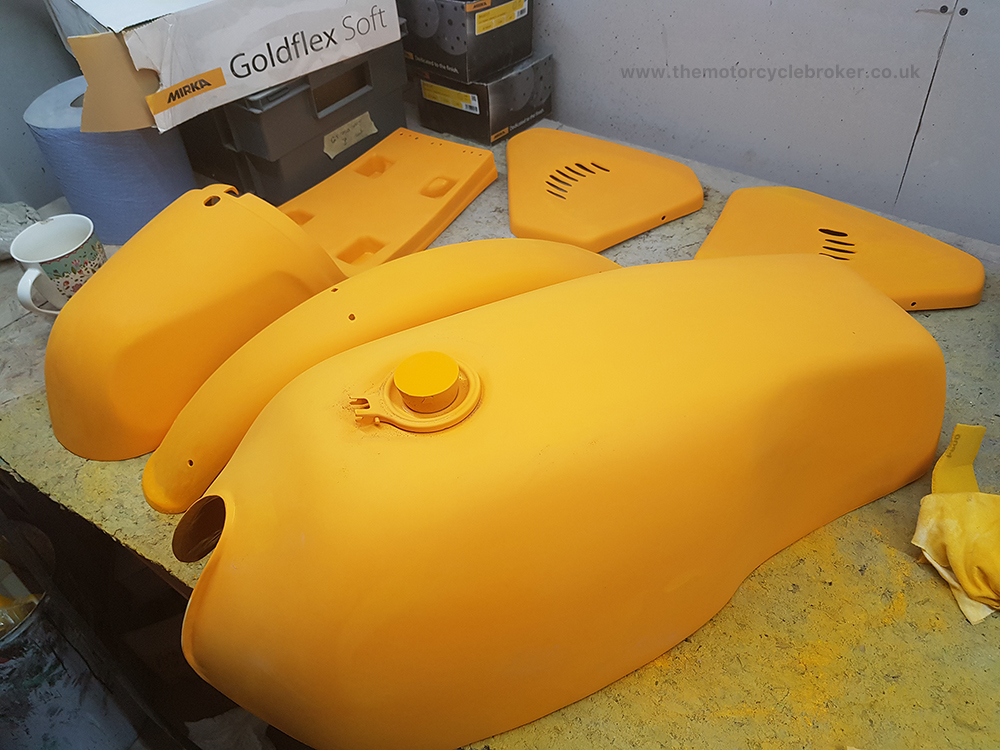
All of the bodywork must be stripped to the bare substrate prior to painting to prevent any type of reaction and future de-lamination. Spraying from the bare substrate means we can cheat and use more paint then they did at the factory, but make it look like there’s very little product on all of the components, so the finish looks original but is of a far higher quality. The rear mudguard was a high quality and very expensive replica item, but was beginning to break up around all of the mounting points. This is because it is just a little too big and we have already made our own replicas from an NOS Original Ducati item. We made a new rear mudguard and it fitted much better without stressing the fibreglass. The original side panels were great to make a colour match, as they were coloured gel coat from the factory. However, over time fibreglass shrinks and this creates stress points where ever they are fixed to the frame. We filled up those holes, reinforced those areas and dressed the work so it can’t be seen even on the inside of the side panels. We drilled new fixing holes in the correct places so the side panels were not stressed at the fixing points.

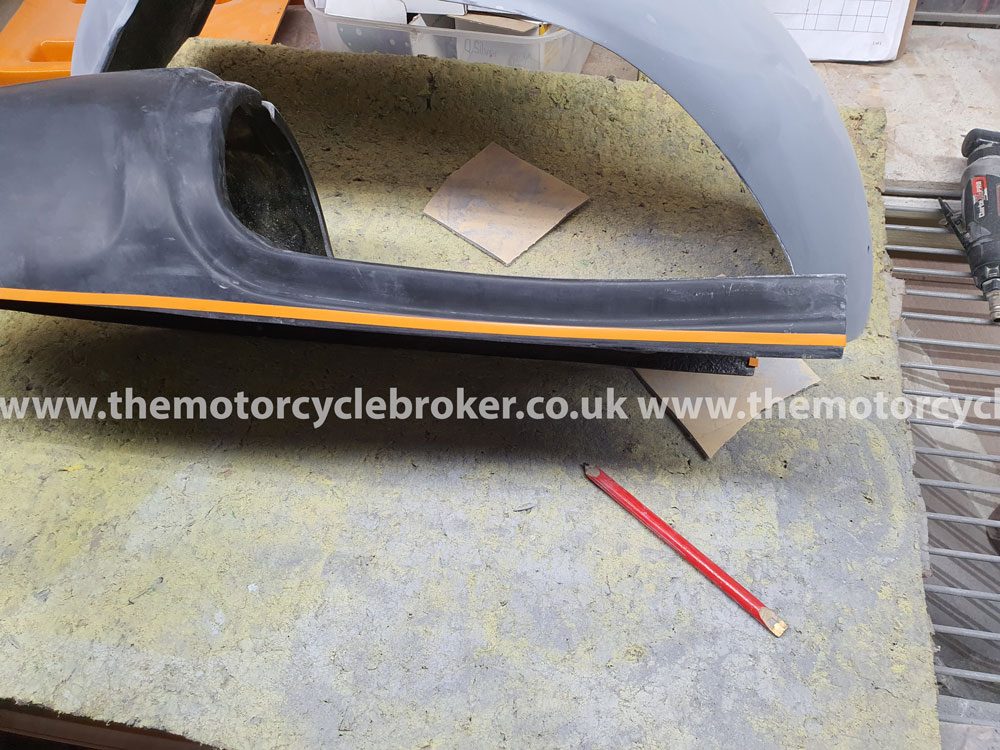
Single seat unit
When we bought the bike we removed the body work so we could see what we were dealing with. It was clear to see that whoever had restored the machine decided to grind off two of the mounting points for the single seat, as the bike only had a twin seat. This was incorrect and made it impossible to fit the single seat unit. We stripped everything away from the rear frame section, the mudguard was already out for painting, and made new pieces to replace the ground out steel pieces and prepared the steel for welding. We welded the new fixing points to the frame and blew in the frame paint, so the new single seat locating points looked like they did when the factory made them and the paint looked perfect. The replica single seat units don’t fit properly and the shape is incorrect with the lower edges being too thick and fouling the frame. We fitted the seat unit and created the correct line for the bottom of the seat unit using tape. The piano hinge that allows the front of the seat to flip up were always very flimsy and the hinge would break and the fibreglass would break up around the hinge mounting points. We made a steel reinforcement embedded in the fibreglass seat unit and drilled it out to accept the rivets so the hinge won’t damage the fibreglass. We cut the seat unit so it no longer fouled the frame and drilled the mounting holes correctly so the single seat looked like the original unit from Ducati but without the flaws. All of this takes time…..a long time to do it correctly.
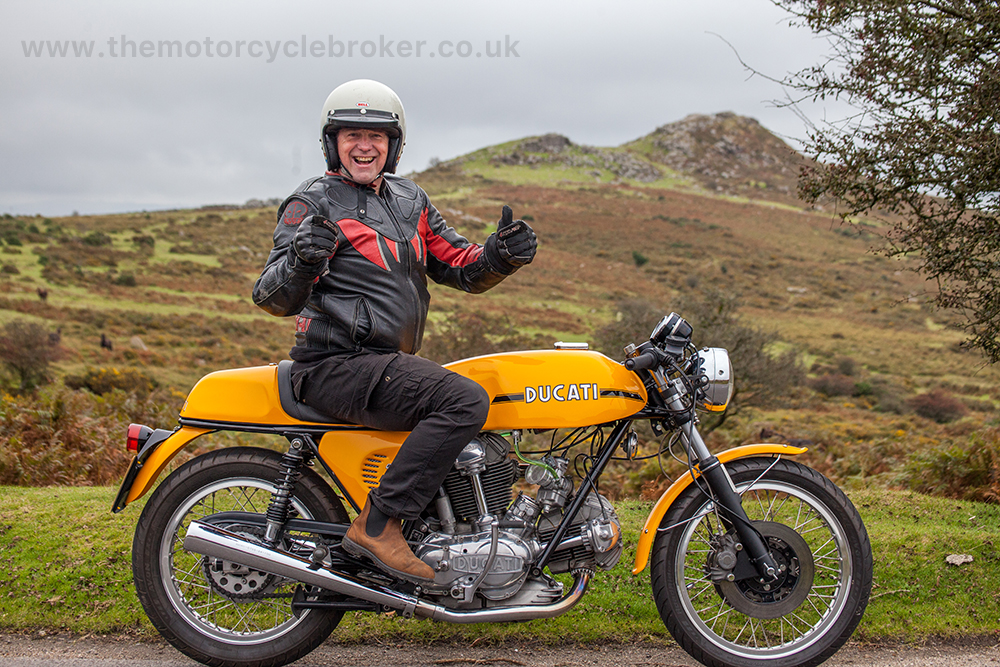
The motorcycle is ready for test riding
Our test rides are very long and very rigorous, as you can see the importance of shake down test rides here. It starts with getting the machine up to operating temperature and putting the bike through the one in four hills and twisting roads of Dartmoor along with some dual carriageway work. Once the machines have about 100 trouble free miles, we know they’re ready. At the end of the first test ride it acme clear that there was a charging fault. The last people to work on the bike fitted the wrong voltage regulator/rectifier, which had burnt out the alternator. We had the alternator re-wound and fitted the correct new reg/rec and the bike charged perfectly.
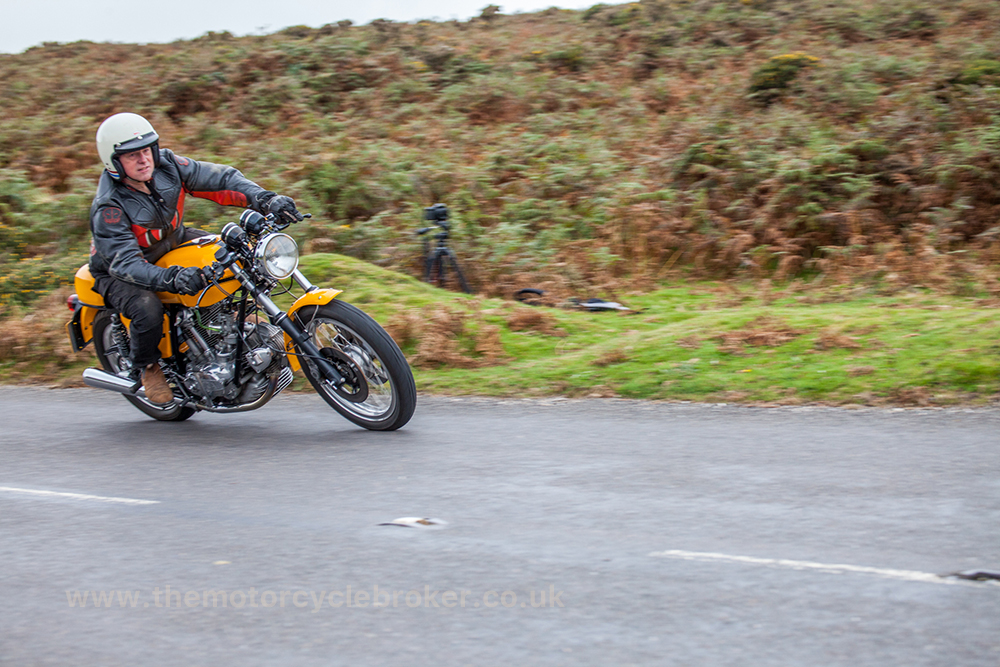
Further shakedown test riding
Further shakedown test riding, once the bike was successfully charging again, went well for the next thirty miles. We headed out for the last sent mile test ride across Dartmoor and the bike would only select first and second gear. We adjusted everything we could, opened up the gear selector mechanism which is just behind the kickstart. We found a few little niggles in the gear selector mechanism, but still nothing more than first or second. Over a two day period of examining the selector with a jewellers eye piece, we noticed some lateral movement on a hinged gate mechanism, so we welded it up and then bike would select all gears when stationary, but not when moving. Again, using the jewellers eye piece, we found that the selector fork had almost invisible scoring which prevented the selector from returning properly. This took us two days of serious investigation to discover and suddenly we were ready for our final test ride. The bike performed like a brand new machine from the factory and is one of the most gorgeous motorcycles that have ever left the factory. Look out for our road test of this stunning 1974 Ducati 750 Sport as it one incredible classic motorcycle which will rocket in value.
- Most collectible Ducati 916 SP - June 20, 2024
- Classic Motorcycles: To ride or not to ride? - June 17, 2024
- Classic Motorcycles: To ride or not to ride? - June 17, 2024


Leave a Reply